
Replacing a doorbell switch is a quick and easy home improvement task that anyone can do with the right tools. It usually takes less than 15 minutes and requires a screwdriver, a new doorbell switch, and a voltage tester. This guide walks you through every step to safely replace or upgrade your switch without hiring an electrician.
Doorbell switches wear out over time due to constant use, exposure to weather, or wiring issues. If your doorbell isn’t ringing or works intermittently, it might be time for a doorbell switch replacement.
Here are the common signs that indicate it’s time for a doorbell switch replacement:
Do you need to turn off the power to change the doorbell button? Yes! Even though a doorbell operates on low voltage (usually 16-24V), it’s best to turn off the power at the circuit breaker to avoid electrical shock.
How to replace a doorbell switch safely? Follow these steps:
| Feature | Wired Doorbell Switch | Wireless Doorbell Switch |
| Power Source | Hardwired to transformer | Battery or plug-in |
| Installation | Requires wiring | Simple, no wiring needed |
| Reliability | Consistent power supply | Dependent on battery life |
| Best For | Homes with existing doorbell wiring | Renters or homes without wiring |
If your doorbell switch is a surface-mounted model (not recessed into the wall), replacing it follows a similar process but requires careful alignment:
Yes! If your home has existing wiring, you can upgrade to a smart doorbell with added features like video monitoring and app notifications.
A licensed electrician is recommended if your doorbell system involves complex wiring, chime box replacement, or transformer issues.
Replacing a doorbell switch is a simple task that enhances your home’s functionality. Whether changing a doorbell switch due to wear or upgrading to a modern model, following these steps ensures a smooth installation.At IGOTO Electric, we offer high-quality doorbell switches and smart home solutions. Visit IGOTO Electric for premium electrical components designed for durability and ease of installation.
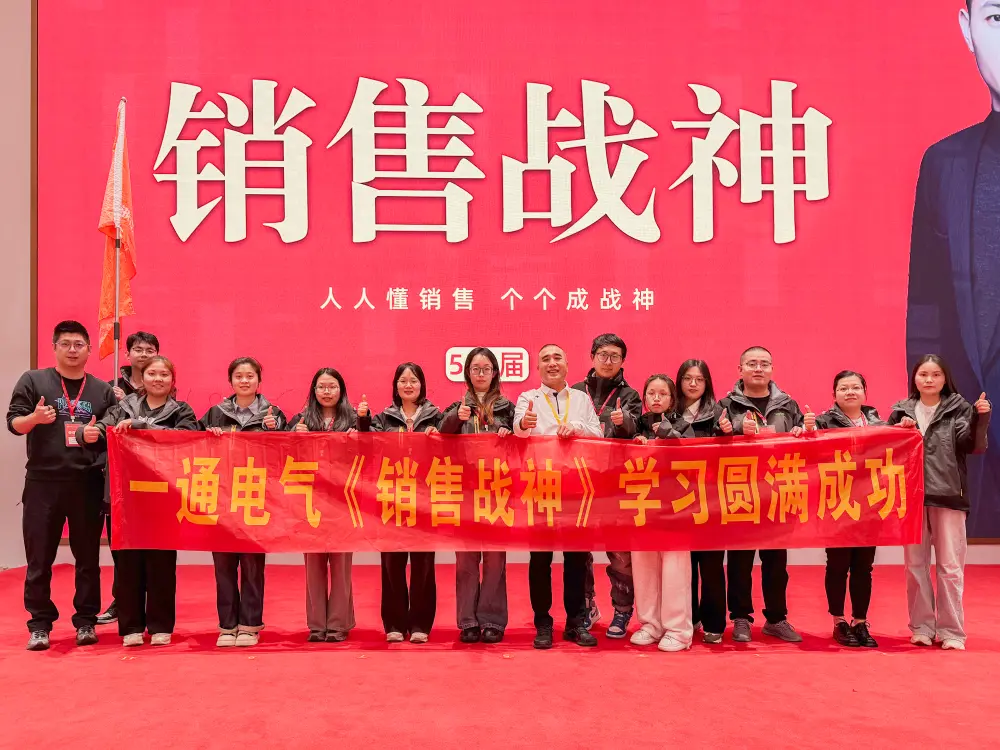
The IGOTO Foreign Trade Department team recently undertook comprehensive sales training. Our goal is to enhance their professional capabilities further and deliver superior service to our procurement partners.

In line with our commitment to sustainability and environmental responsibility, we are pleased to present our corporate carbon emissions disclosure for the years 2019 and 2024. This disclosure reflects our ongoing efforts to reduce carbon emissions and improve our environmental performance. Carbon Emissions Overview The table below provides a comparison of our carbon emissions between […]
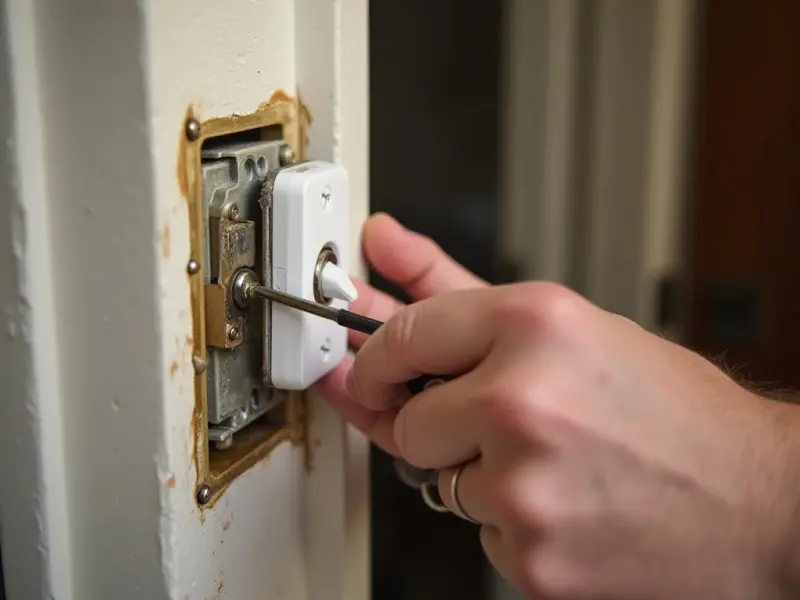
Replacing a doorbell switch is a quick and easy home improvement task that anyone can do with the right tools. It usually takes less than 15 minutes and requires a screwdriver, a new doorbell switch, and a voltage tester. This guide walks you through every step to safely replace or upgrade your switch without hiring […]
 +86-13957797014
  No.6 Tuozhan Road, Leshang Pioneer Park,Yueqingwan Bay Harbor,Yueqing city,Zhejiang Province


