

Quick answer: For power strips featuring keyhole slots on their back, mark their position on the wall and then install matching wall anchors or screws. Now slide the power strip onto the screw heads and make sure it’s secure before you plug something in. Follow the manufacturer’s instructions if your strip uses a bracket or another mounting system.
It depends on the design of the power strip. Those with mounting holes, keyhole slots, or separate brackets can be wall-mounted.
Turn your strip and look for these things. If you don’t find them, read the manual before attempting another method. Adhesive could be an option for certain strips, but check whether the adhesive and the strip are suitable for it first. Also note that hanging cables, adapters, and plugs will add weight once you start using the strip.
It’s also important not to drill through the housing to make mounting holes in the strip, as that can cause damage to the components inside.
If the power strip you’re using has mounting holes or keyhole slots on its back, then you just need screws to mount it to a wall. Here’s how to do it step by step:
Choose a spot where the strip’s cord can comfortably reach the outlet without requiring any stretching. Also make sure the devices you plan to plug in reach it easily.
There also shouldn’t be any electrical wires or plumbing behind the mounting points. Place the strip away from water and all the places that the manufacturer labels as a no-go for installation.
Next, turn over the strip and look for keyhole slots. Measure the distance between them or make a quick template using a painter’s tape. Just put the tape across the strip’s back and mark the center of each slot. Moving it to a wall and using a level to get a straight position can help you mark more accurately.
Your wall will determine which fasteners you need. You may be able to screw directly into a wall stud or another solid surface. Drywall and other hollow walls will usually need suitable anchors.
If the strip uses keyhole slots, don’t drive the screws all the way into the wall. Leave enough room for the screw heads to enter the wider part of the slots and slide into place. Check the strip’s instructions for any specific mounting requirements.
Use the screw heads to line up the keyhole slots and push the strip onto them. Then slide it into position and give a gentle pull to the strip to make sure it’s secure.
Don’t forget to check the cables after plugging everything in. Sometimes, tightly stretched cords and heavy adapters can place extra strain on the mount.
You might be able to use adhesive mounting when drilling is out of the question. However, first confirm that the adhesive can support the strip once you attach the plugs and cables. This becomes especially important when installing lighter power strips on smooth surfaces.
You must also look at the wall’s surface. Adhesive that holds well on glass or tile may not stick as securely to painted or textured surfaces. Clean and dry the area for mounting, and then apply the adhesive on the strip’s back based on the manufacturer’s instructions.
It’s also important not to plug everything in immediately. That’ because some adhesives require time to reach their full strength, meaning it’s best to follow the recommended curing time.
If you regularly unplug devices or use several heavy adapters, adhesive may not be the best choice. A manufacturer-approved screw or bracket mount will usually handle that repeated pulling better.
Even when you put a power strip on a wall, it’s not considered permanent electrical wiring. You still need to use it as a plug-in power strip. Avoid running its cord through a floor, ceiling, or wall to conceal it. No matter what you may have heard, power strips aren’t meant to replace permanently installed wall outlets.
In fact, most listed models are meant to be plugged directly into a fixed receptacle. So don’t hide them and also don’t make any changes to the housing. Instead, use a mounting bracket or keyhole slots if the manufacturer offered them.
You should also try remaining within the electrical rating of the strip. Securely mounting it on a wall has no affect on the amount on power it can securely handle.
A power strip works well when you need movable, plug-in power. If several outlets will be permanently needed in the same location, a hardwired multi-outlet wall solution may make more sense.
That’s a different type of product. IGOTO, for example, manufactures structural wall sockets and modular panels rather than portable power strips. Its ranges cover Australian, European, and US socket standards.
European models include options designed around common 60 mm round and 86 mm square wall boxes. Applicable products are also available with grounding contacts and child-safety shutters.
For Australian projects, IGOTO offers separate SAA-certified socket ranges. European ranges include products with applicable CE and CB certifications.
Hardwired wall outlets need to match the local electrical standard and should be installed according to the applicable wiring requirements.
When purchasing power strips for commercial spaces like offices and hotels, consider the electrical rating, cord length, and how the strip is designed to be mounted.
Then check the number of outlets along with the grounding arrangement (and relevant safety certifications). The mounting method also matters, especially if you plan to install strips in large numbers across a vast property.
If you need extra outlets permanently in the same location, a hardwired wall outlet may make more sense than mounting a power strip. However, you have to match the outlet to the electrical standard of the country where you’re installing it.
At IGOTO, we make wall outlets for different regional standards, including European, US, and Australian configurations. Our European range includes options with modular configurations and child-safety shutters, whereas we tend to offer SAA-certified products to buyers in Australia.
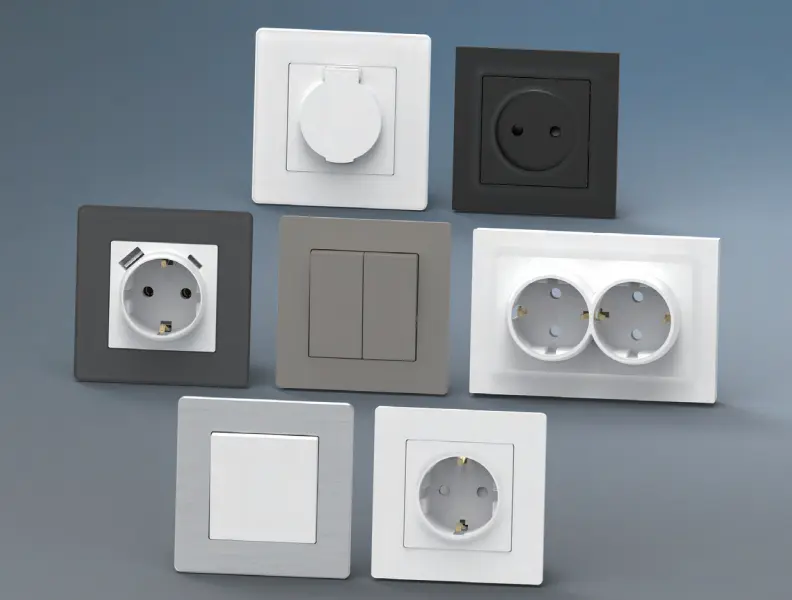
European Wall Switches & Socketes >>
Yes, if it’s designed for screw mounting. Use the keyhole slots, mounting holes, or bracket provided by the manufacturer rather than drilling through the electrical housing.
Yes, provided the power strip and adhesive are suitable for it. Consider the wall surface and the total load once plugs and cables are connected, then follow the adhesive manufacturer’s installation instructions.
It’s not. Even when you attach a plug-in power strip to a wall, it doesn’t become a permanent branch-circuit outlet. It’s still classified as a relocatable electrical product that should be used according to its manufacturer and listing instructions.

The term “07984 lighting consultants” gives people the impression that the five digits represent a postal code of some sort that indicates the place where lighting consultants provide services. This is, however, incorrect: there is no postal area coded 07984, which is only a code of mobile telecommunications in Great Britain. This means that the […]

San Francisco is not the average lighting control market. The housing stock is old and dense, and the electrical code does not allow for as many electrical installations as is allowed almost anywhere else in the U.S. Most homes that want complex lighting are Victorian or Edwardian buildings where no one wants to start opening […]
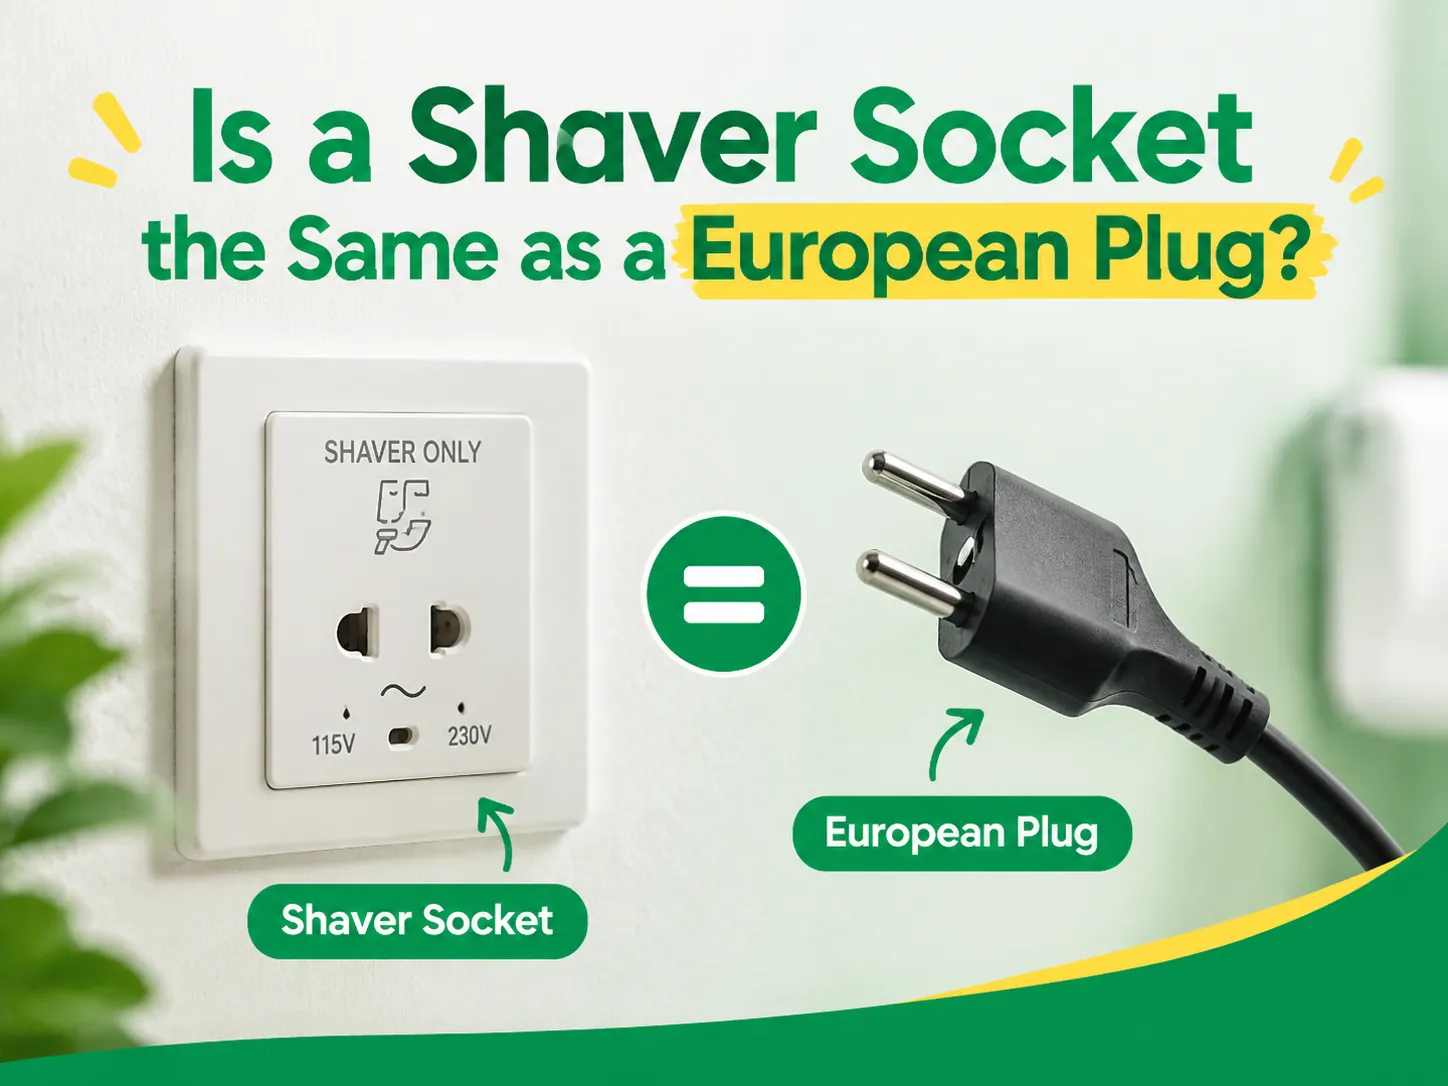
Although they seem to be alike, they both have a round shape with two pins, and they function at a voltage of 230V. This explains why some tourists use a European plug with a British shaver or wonder why a shaver cannot be plugged into a Schuko socket in a Spanish hotel. In reality, they […]

 No.6 Tuozhan Road, Leshang Pioneer Park,Yueqingwan Bay Harbor,Yueqing city,Zhejiang Province


