

It’s another day on the job and you’re tasked with installing a basic single-pole switch to control a light. Simple enough, but even seasoned pros need a wiring refresher once in a while.We’ll answer the common questions about correctly wiring a 1-way light switch and show how even basic circuits need diligent craftsmanship.
A single-pole or 1-way light switch has two brass screw terminals, usually labeled Line (incoming hot) and Load for the switched output to control a light. Inside, a mechanical toggle connects or interrupts the Line hot wire path over to the Load side to turn the light on and off[1].
Any time you work with electrical wiring, safety should be the top priority. Turn off power at the breaker before accessing any switch connections. Verify power is off with a non-contact voltage detector. Review the circuit diagram to understand hot, neutral, ground routing. Gather the right switching gear and tools for the job.
Here are the step-by-step 1 way light switch wiring basics:
This wiring allows the switch to control power flow to the light fixture, completing the circuit when toggled on. Get everything squared away neatly to avoid shorts.
Don’t trust critical electrical work to just any switch. IGOTO’s single-pole switches undergo rigorous testing for durability, heat endurance, and electrical ratings. Their high-performance components maintain tight contact closure for the long run. Take advantage of IGOTO’s quality engineering for commercial and residential wiring jobs requiring robust 1-way controls built to last.
When it comes to reliably wiring single-pole light switches, trust IGOTO Electric to supply durable, high-quality switches purpose-built to excel in commercial and residential applications. Contact an IGOTO representative today to learn more about specifying grade-A 1-way light switches for your next project.
In a light switch, L1 and L2 refer to the line terminals. L1 is the incoming line (live) wire, and L2 is the outgoing line (switched) wire that connects to the load (e.g., light fixture).
For 15-20 amp home lighting circuits, 14 AWG copper THHN wire is commonly used.
A one-way switch, also known as a single-pole single-throw (SPST) switch, is used to control a single electrical circuit. It allows the circuit to be turned on or off from a single location. One-way switches are commonly used to control a single light fixture or other electrical appliance from a single location.
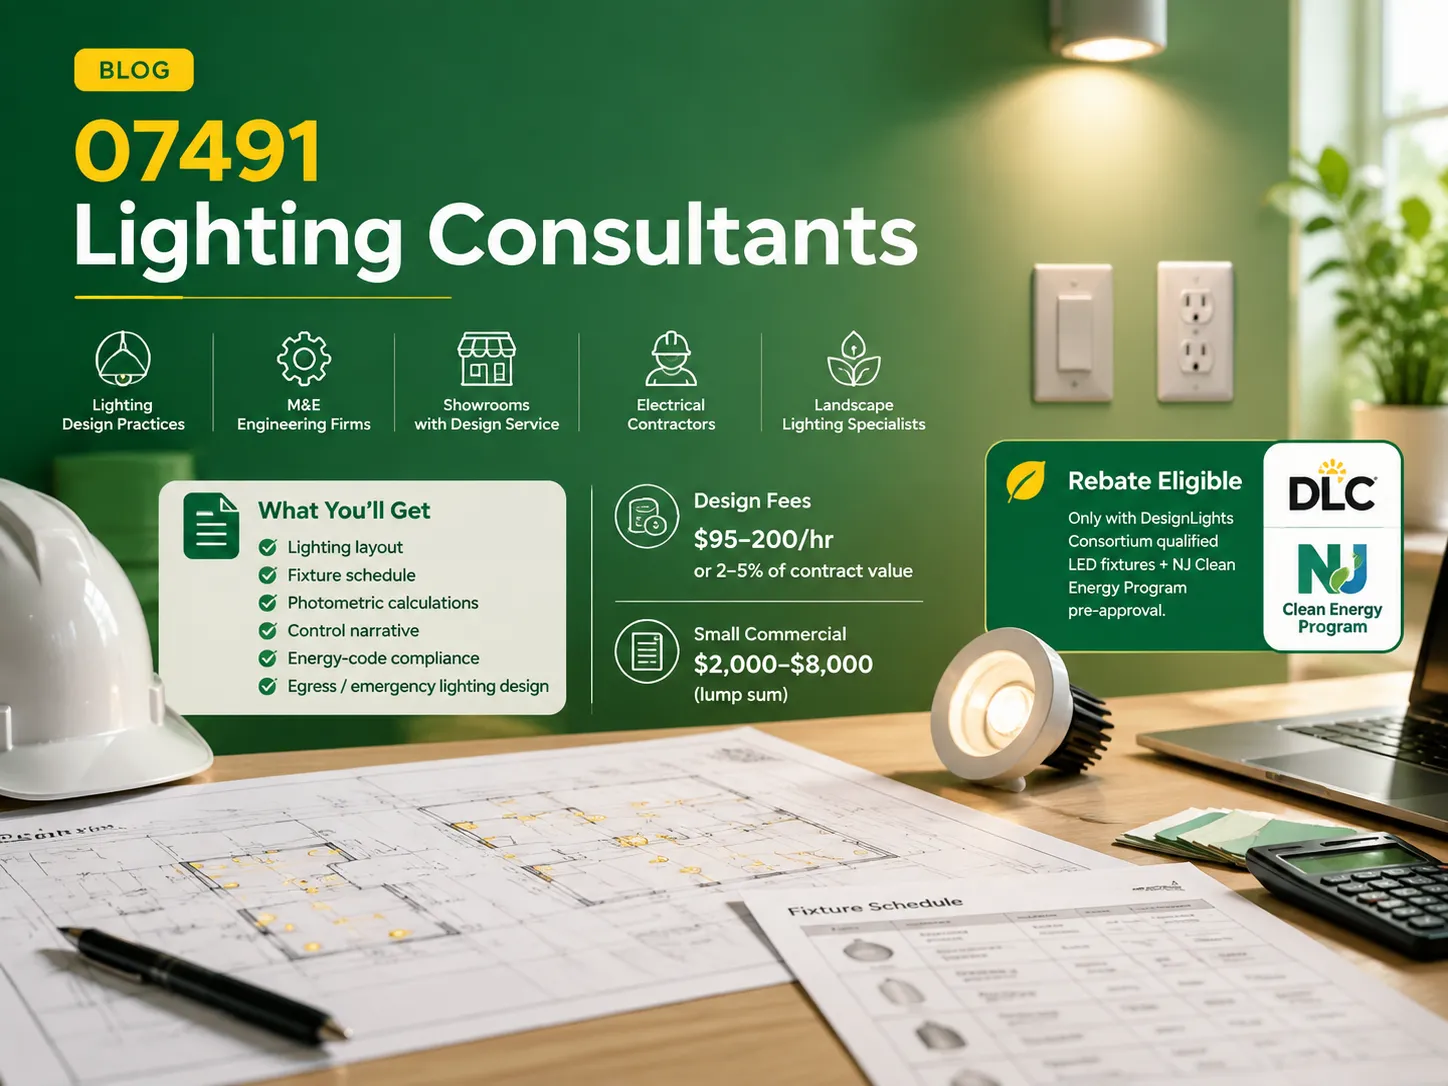
If you need assistance with lighting in the 07491 region, is essential to ask two crucial inquiries: who is operating nearby and how much is charged for the services. Concerning the first question, one can easily find the answer regarding the facts and figures because the market in northern New Jersey is not so broad. […]
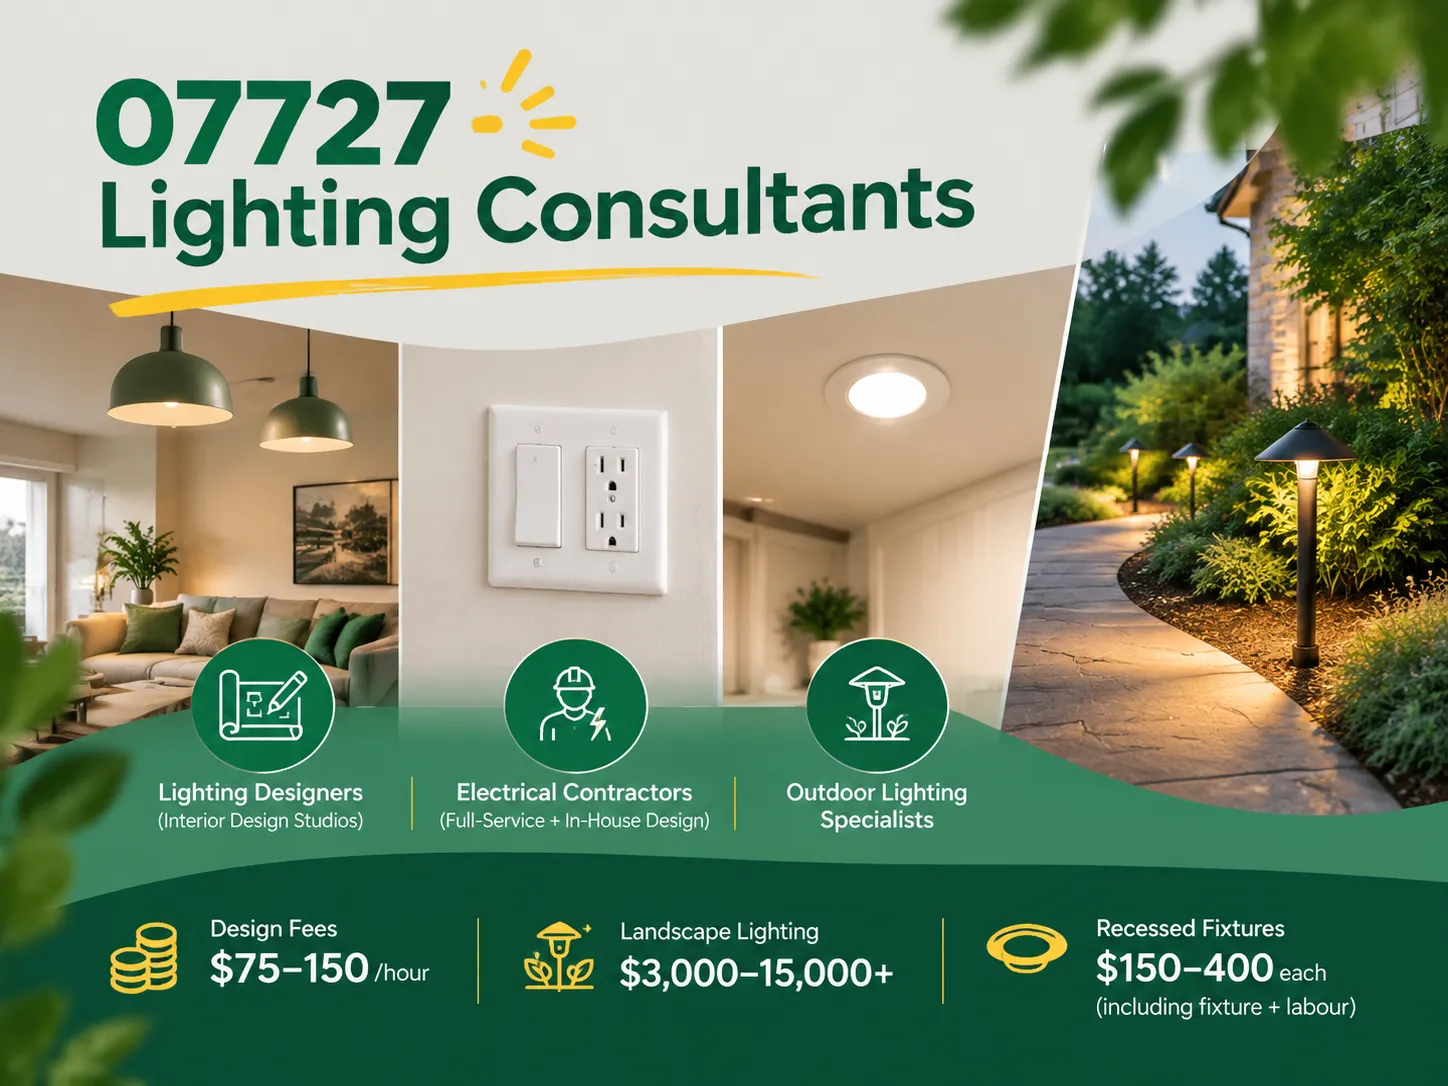
Farmingdale, along with parts of Wall Township and Tinton Falls, New Jersey, share the same zip code of 07727. Most of the houses built from the 1950s to the 1990s still exist today. Most of the homeowners are renovating their houses as opposed to building new homes. Homeowners tend to spend a lot more on […]

The term “07984 lighting consultants” gives people the impression that the five digits represent a postal code of some sort that indicates the place where lighting consultants provide services. This is, however, incorrect: there is no postal area coded 07984, which is only a code of mobile telecommunications in Great Britain. This means that the […]

 No.6 Tuozhan Road, Leshang Pioneer Park,Yueqingwan Bay Harbor,Yueqing city,Zhejiang Province


