


The installation of a switch blanking plate or blank light switch inserts should not be a tough challenge.
However, it is important to know the proper installation process to ensure safety whilst maintaining aesthetics.
Prior to starting the installation process, there are some few basic tools to prepare. Learn how to install a blank plate in a blanking switch box in this guide that will cover the following:
Let’s go through each one by one.
Before you can even begin with the installation, be sure you have the following tools with you: your blank plate, the right screwdriver, and the corresponding screws.
In the installation of your blank plate to the switch box, safety is paramount, as with working with any other electrical component. That said, you must make sure the switch box’s power is turned off first at the main circuit breaker.
Then, you must remove the screws to secure the plate to the box. Do this the right way by pulling away the cover from the wall, but be careful so as not to expose the switch box and its internal wiring.
Obviously, if there’s a switch in the switch box, this must be first disconnected. Do this by unscrewing the terminal ones on the sides of your switch. Mind the wire connections and make sure they are also secure.
Next up, the blank plate must be prepared. Remove it from the packaging and before getting them into the installation process, inspect it to spot any defects or damage. If needed, you may have to clean the plate to ensure a smooth installation.
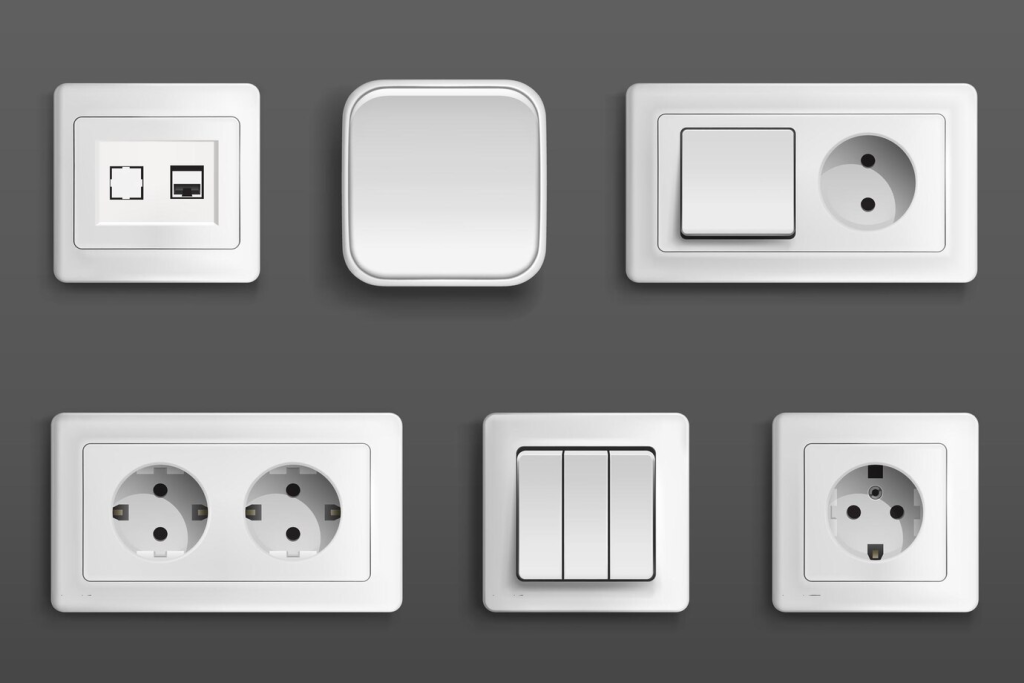
Do so by aligning the holes or slots on your blank plate using the screw holes on your switch box. Ensure the plate completely covers the opening and is positioned or oriented right.
Via the holes or slots of your plate, insert the screws through, then into the screw holes on your switch box. Using the screwdriver is a must to securely tighten the screws until the plate is fastened well in place. Avoid overly tightening since this may damage the switch plate or the box itself, yikes.
Adhere to the disconnection procedure as tackled a while ago, then re-attach by connecting the wires to the corresponding terminals on the switch. Make certain the wiring connections are secure and tight in place. Then, carefully place the switch back in the switch box.
Afterward, you must position the plate over the box, aligning everything with your screw holes. At this point, the screws must be inserted through the cover plate and into your switch box. A screwdriver should be utilized to tighten the screws until the cover plate is secure in place.
Now, you’re almost done. The last step is restoring the power. Once your blank plate and switch cover are properly installed and covered, turn the power back on at the main circuit breaker. Done and dusted!
In addition, here are some best practices to guarantee the smooth installation of your blank plates in switch boxes:

Switch boxes with blank plates are not just professional-looking and pleasing to the eyes but also practical. When these boxes have plates installed, accidental contact with live wires is prevented, electrical components are protected from dust and moisture, and your space will have a clean appearance.
Our firm, IGOTO Electric, is one of the globe’s most renowned manufacturing brands for wall switches and sockets. Compromises are not part of our vocabulary. We have been in the business since 1999 and for decades, we have involved into a highly-demanded enterprise that integrates collaborative research and development, intelligent manufacturing, global sales, and unparalleled services.
See the IGOTO opportunity now by connecting with our team today. Together, let’s light up your world.

If you need assistance with lighting in the 07491 region, is essential to ask two crucial inquiries: who is operating nearby and how much is charged for the services. Concerning the first question, one can easily find the answer regarding the facts and figures because the market in northern New Jersey is not so broad. […]

Farmingdale, along with parts of Wall Township and Tinton Falls, New Jersey, share the same zip code of 07727. Most of the houses built from the 1950s to the 1990s still exist today. Most of the homeowners are renovating their houses as opposed to building new homes. Homeowners tend to spend a lot more on […]

The term “07984 lighting consultants” gives people the impression that the five digits represent a postal code of some sort that indicates the place where lighting consultants provide services. This is, however, incorrect: there is no postal area coded 07984, which is only a code of mobile telecommunications in Great Britain. This means that the […]

 No.6 Tuozhan Road, Leshang Pioneer Park,Yueqingwan Bay Harbor,Yueqing city,Zhejiang Province


