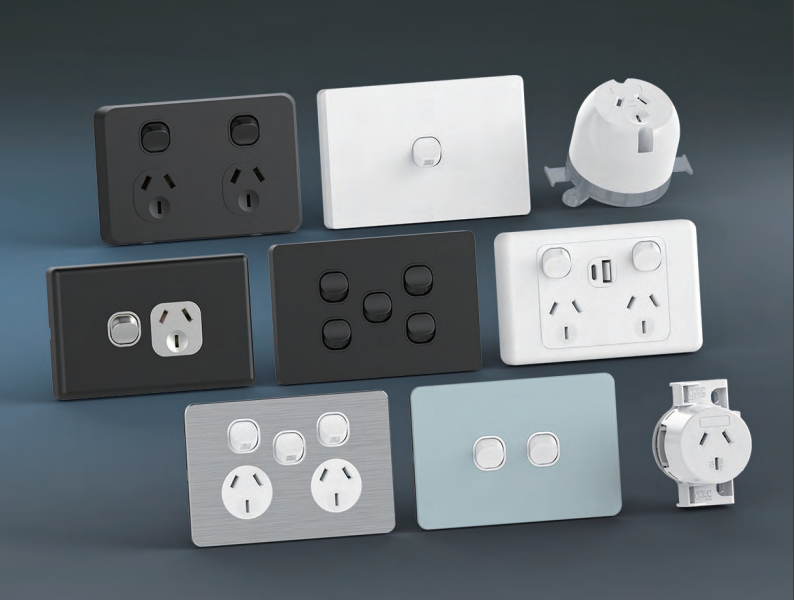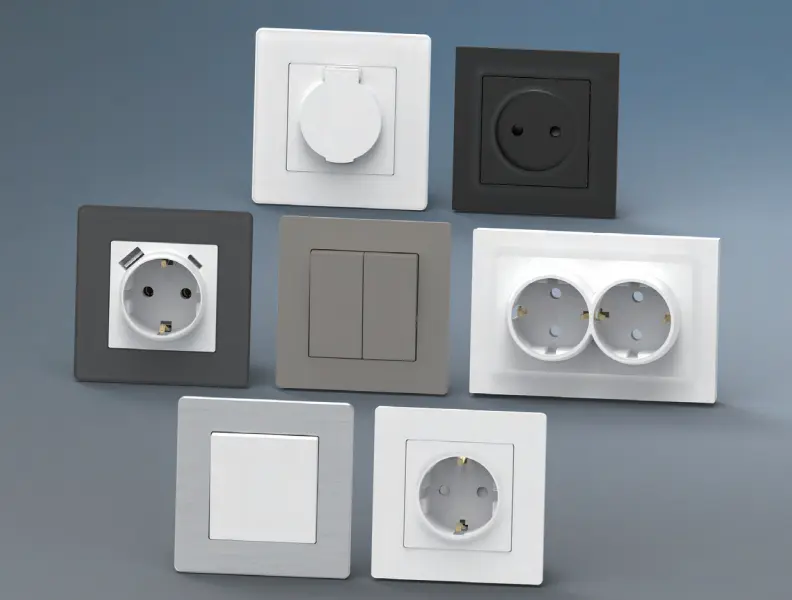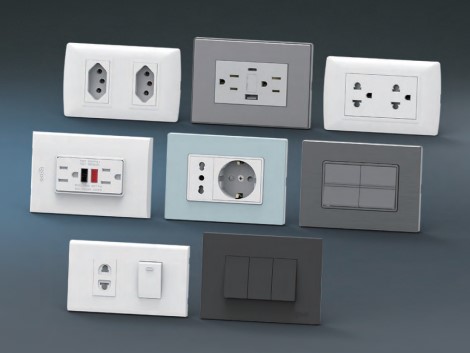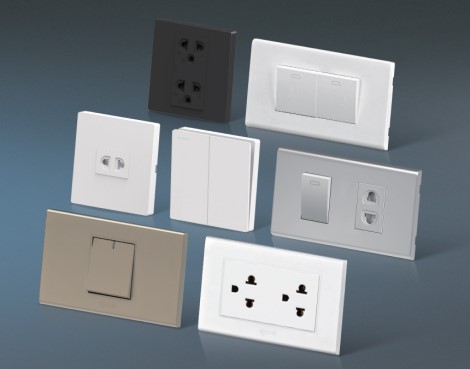
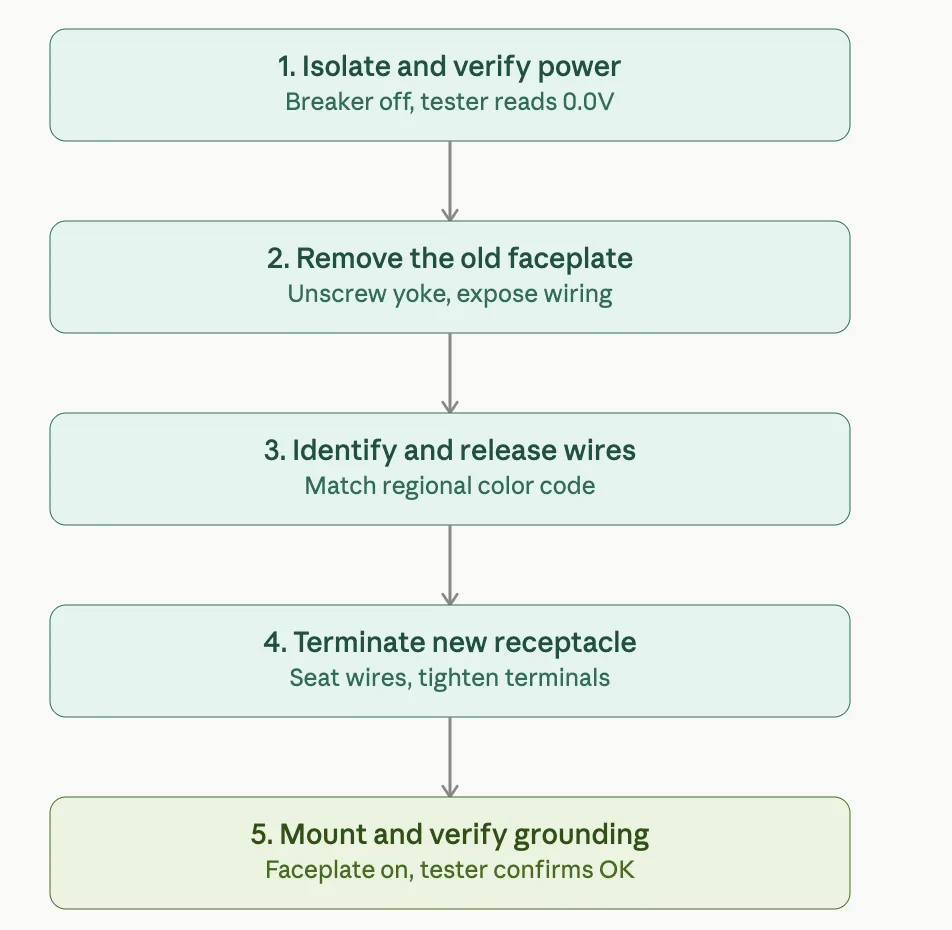
Replacing a wall socket involves switching off the power at your breaker box, then using a tester to verify zero voltage. You then access the wires by removing the plastic cover plate on top. Once done, unhook the neutral, live, and ground wires from the old outlet and screw them tightly into the same spots on your new one.
Some tools need to be arranged beforehand to successfully replace a wall socket. These include a set of VDE-certified insulated screwdrivers that are 1000V. The kit should also have Pozidrive, Flathead, and Phillips tips present so your crew avoids stripping out the screw heads.
A wire stripper, the heavy-duty kind and one that has precision-ground jaw openings stripping 1.5mm² to 4.0mm² solid-core copper wires, is also an essential. These can be paired with carbon steel side cutting pilers to help trim conductor leads down to your own desired length. Plus, make sure to buy a digital multimeter and a non-contact voltage detector as they come in handy during the process.
Most eletric failrues step from the copper wires inside the wallet socket. Fortunately, there are steps you can take to keep these wires safe while ensuirng you meet the local building codes.
It’s always easier to upgrade a high-volume property when your parts come directly from a factory rather than a third-party distributor. At IGOTELE, we make electrical gear that is certified and capable of withstanding daily wear and tear. We have established b2b supply lines that we use to supply it in commercial spaces.
For our wall switch and sockets, we use a modular frame setup. This layout makes it easy for electrical crews to install them across a large job site. Decorative faceplants snap right onto the frame on the switch’s front. The back uses quick-connect wiring slots rather than tedious screws. Your total labor costs go down due to the design.
Then we have European standard switches and sockets. These are specifically made for heavy-duty setups, think busy areas like hospital hallways and schools. A full V0-rated plastic is present on the back chassis. This is housed to help prevent fire from spreading. Factories also reinforce the metal wiring terminals inside so they stay tight and in place over time.
Our factory leverages advanced manufacturing automation to deliver exceptional engineering precision. We also have a dedicated R&D lab where units are tested under heavy loads. We run safety validation checks on all products and arrange all paperwork before dispatching the sockets to our customers.

Farmingdale, along with parts of Wall Township and Tinton Falls, New Jersey, share the same zip code of 07727. Most of the houses built from the 1950s to the 1990s still exist today. Most of the homeowners are renovating their houses as opposed to building new homes. Homeowners tend to spend a lot more on […]

The term “07984 lighting consultants” gives people the impression that the five digits represent a postal code of some sort that indicates the place where lighting consultants provide services. This is, however, incorrect: there is no postal area coded 07984, which is only a code of mobile telecommunications in Great Britain. This means that the […]

San Francisco is not the average lighting control market. The housing stock is old and dense, and the electrical code does not allow for as many electrical installations as is allowed almost anywhere else in the U.S. Most homes that want complex lighting are Victorian or Edwardian buildings where no one wants to start opening […]

 No.6 Tuozhan Road, Leshang Pioneer Park,Yueqingwan Bay Harbor,Yueqing city,Zhejiang Province