

San Francisco is not the average lighting control market. The housing stock is old and dense, and the electrical code does not allow for as many electrical installations as is allowed almost anywhere else in the U.S. Most homes that want complex lighting are Victorian or Edwardian buildings where no one wants to start opening up walls. This situation makes most of the literature on this subject useless for this local market.
This article provides the details of home lighting control in San Francisco, its four types of solutions, the systems and the local integrators that install them, the local specialty prices for 2026, and the law regulations that are relevant in California when the decision is made.
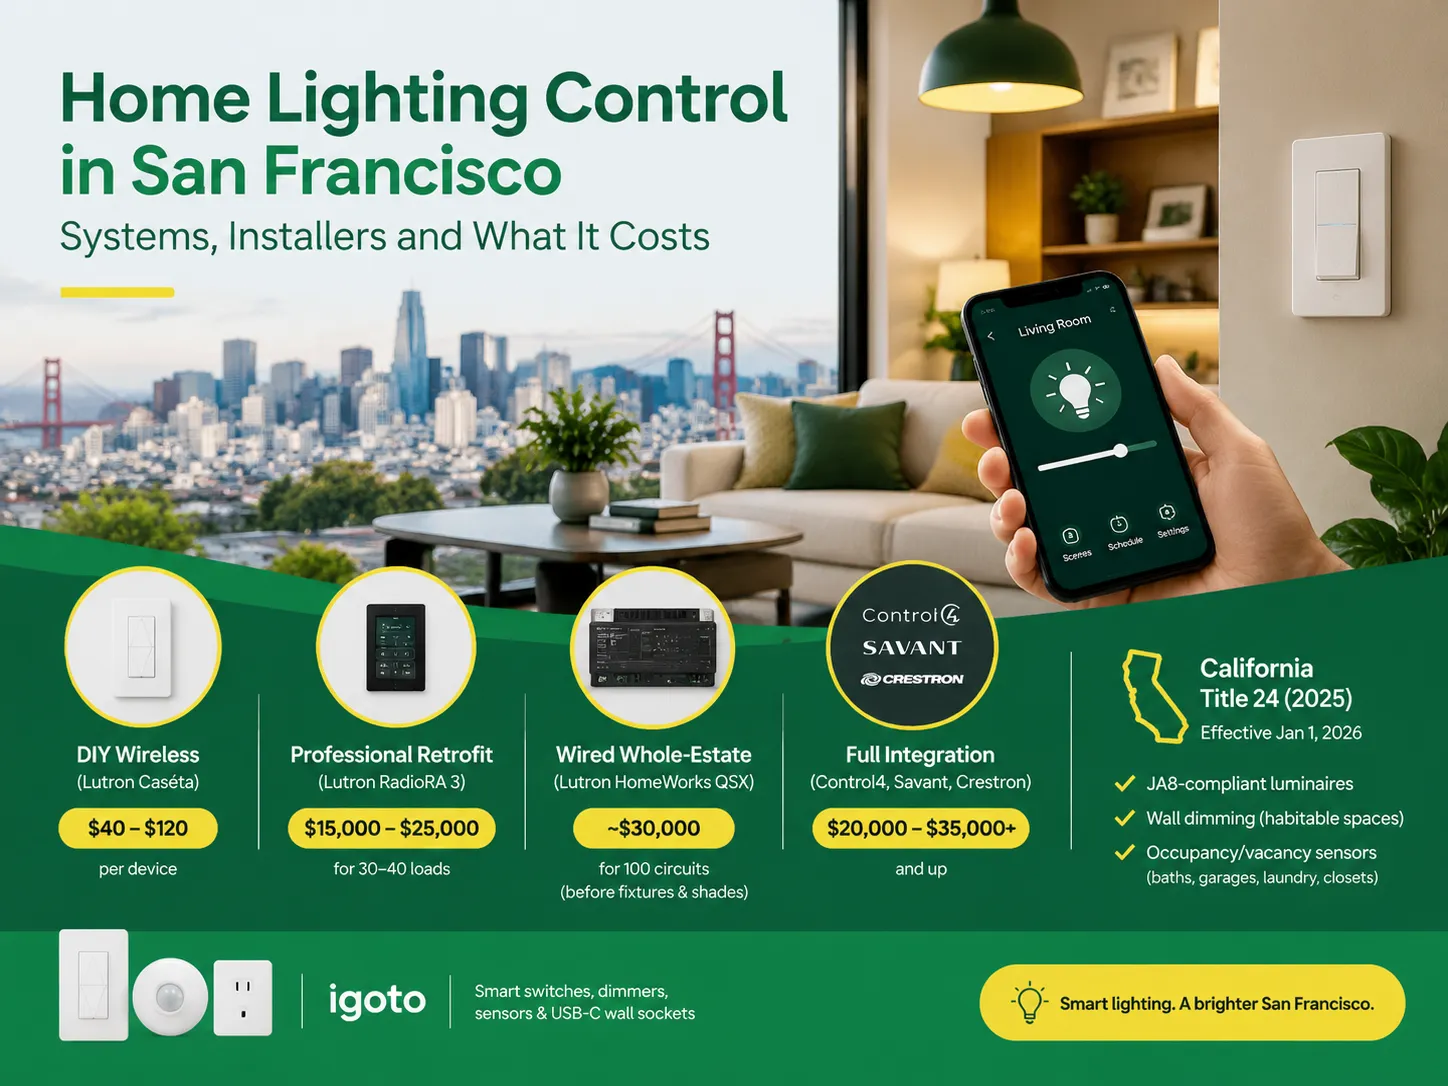
The available solutions may be broken down into four categories. The first empirical approach would be wireless dimmers by Lutron Caséta at prices $40 – $120 per device. When it comes to systems for retrofitting the existing infrastructure, the leading model in this field appears to be Lutron RadioRA 3 system, which would cost around $15,000 – $25,000 for cleaning up 30 to 40 loads. When it comes to wired systems for the whole estate, the most expensive but probably the most reliable alternative would be Lutron HomeWorks QSX system, which would cost around $30,000 without any extras in terms of light fixtures and shades to the project. Finally, if complete integration into smart home system is more important than expense of installation, one should use with Control4, Savant or Crestron system. Whatever option has been chosen, its user needs to keep in mind that there will be JA8-compliant systems and presence of any wall dimmers in block of apartments in units that may be used.
The term includes three divergent proposals that come packaged together as one. The first is comfort: one can control a group of the lights at once, either with a keypad, a smartphone app, or voice commands. The second is mood: it implies scenes that provide specific light intensities and colour temperatures for cooking, eating, reading, or entertaining. The third is compliance and efficiency: it is known for automatic switching of the lights off and dimming, thus complying with energy efficiency codes and cutting energy consumption.
For the majority of the country, the third principle is regarded as a by-product. However, California approaches the issue from the other side – the effectiveness of Title 24 regulations on energy efficiency that entered into force on January 1st, 2026, which applies to allowed new constructions and alterations. Any renovation that implies lighting work is automatically regarded as controlling project in California, regardless of the wishes of the owner. It is beneficial for the customers, as the additional costs connected with enhanced controlling devices are greatly minimized due to the requirements of the codes.
A vital factor that defines everything else is the building types. Many houses in San Francisco, particularly before World War 2, used wood-frame technology and plaster, laths, and switches. Many contemporary devices require the presence of a neutral in the switch box, as the current does not flow through the light bulb during switch “off.” Houses built before 1985 generally do not have neutral wires in the switch box, which forces consumers to reconsider their choice of the device. Checking the neutral during the site visit — not after the quote is signed — is the single most important pre-sales step on a retrofit. The mechanics of how these devices differ from a plain switch are covered in our explainer on what a smart switch is.
Another regional element is the price of overlooking mistakes in design. Victorian design elements such as plasterwork and picture rails make poorly executed jobs blunders that are easily visible, such as a keypad that is not in the right place or a large piece of equipment that is forced into a space shallower than it should be. In the local market area, quality of planning is a more important differentiating factor than the future brand name of a processor.
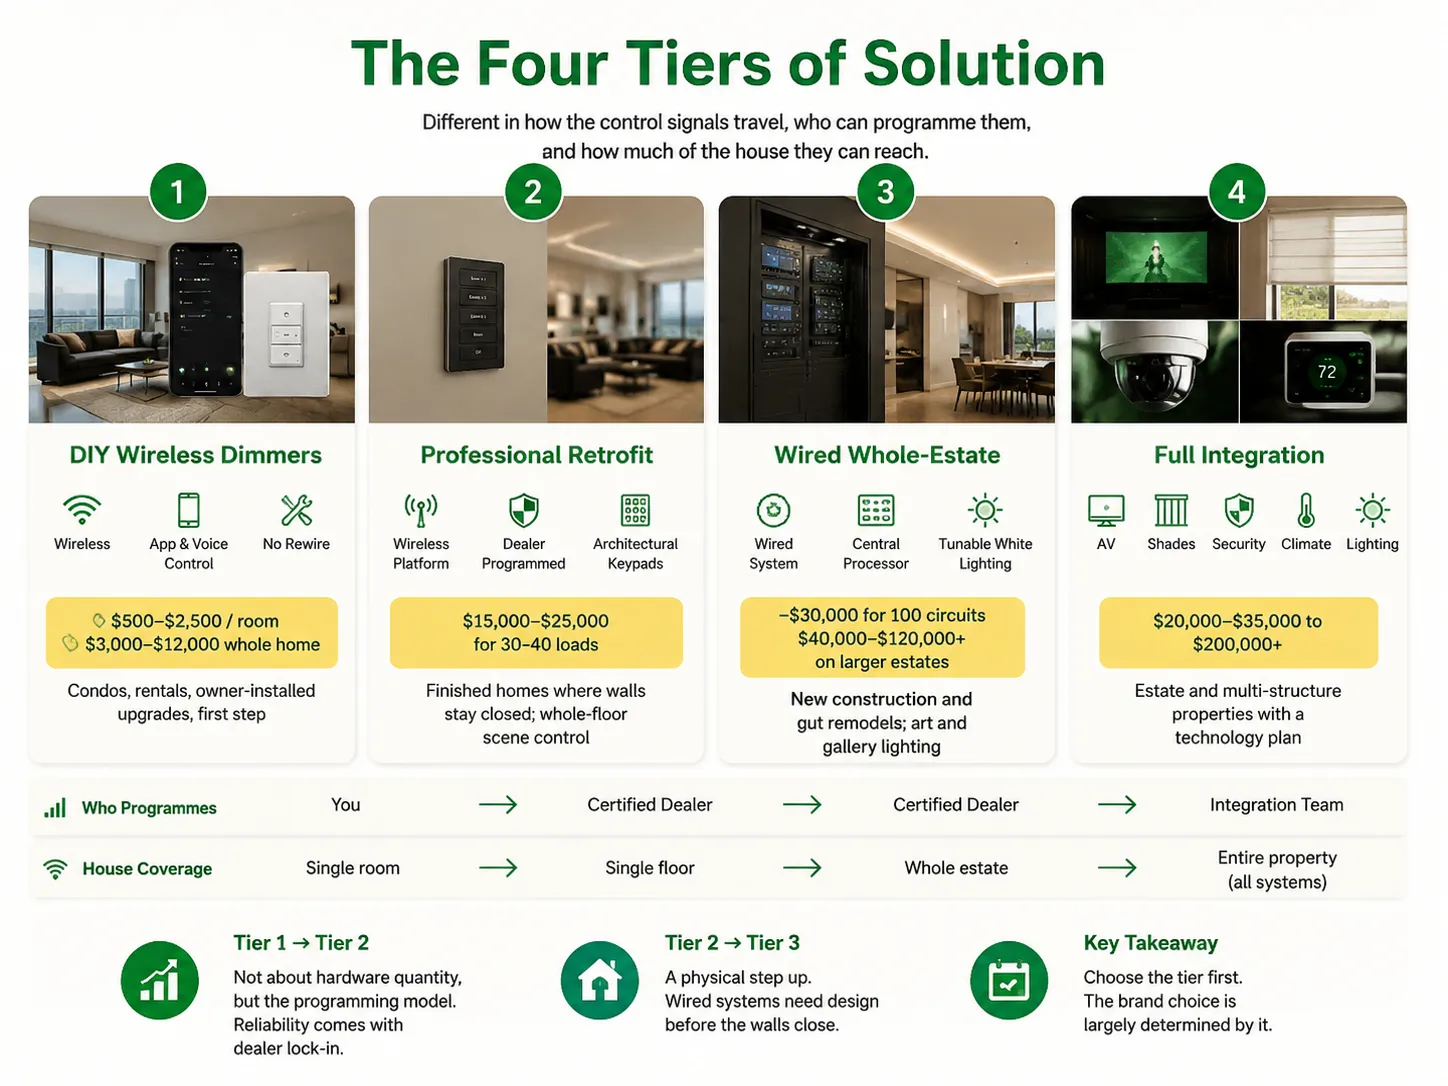
In the city, nearly all projects can be classified into one of four categories. The categories vary in terms of the paths the control signals take in addition to who gets to program them and how far they affect the building. It is important to determine the tier first before picking the brand since it determines the brand selected.
| Tier | How it works | Typical cost | Best suited to |
|---|---|---|---|
| 1 — DIY wireless dimmers | Line-voltage smart dimmers plus a bridge; no rewire; app and voice control | $500–$2,500 per room; $3,000–$12,000 whole home | Condos, rentals, owner-installed upgrades, first step |
| 2 — Professional retrofit | Dealer-only wireless platform on the existing wiring; architectural keypads | $15,000–$25,000 for 30–40 loads | Finished homes where walls stay closed; whole-floor scene control |
| 3 — Wired whole-estate | Processor-based panelised system, wired keypads, tunable white fixtures | ~$30,000 for 100 circuits; $40,000–$120,000+ on larger estates | New construction and gut remodels; art and gallery lighting |
| 4 — Full integration | Lighting as one subsystem of a whole-home platform with AV, shades, security, climate | $20,000–$35,000 to $200,000+ | Estate and multi-structure properties with a technology plan |
The difference between tier 1 and tier 2 is not necessarily between the amount of hardware involved, but rather in the programming method. Thus in tier 1 the owner does the programming, while in tier 2 the dealer does the programming and has the exclusive right to perform the servicing, which can be interpreted as both the source of reliability and of the lock-in. As for the difference between tier 2 and tier 3, this one is real and physical. If a certain wired solution is involved, the wires and the control panel must also be set beforehand. This is the reason why a tier 3 choice made after the finishing work has already taken place corresponds to tier 2.In the wireless tiers, the radio protocol also decides how reliably devices stay joined, and commissioning mistakes there surface weeks later as intermittent dropouts — the sequence is set out in our walkthrough on how to set up a Zigbee smart light switch.
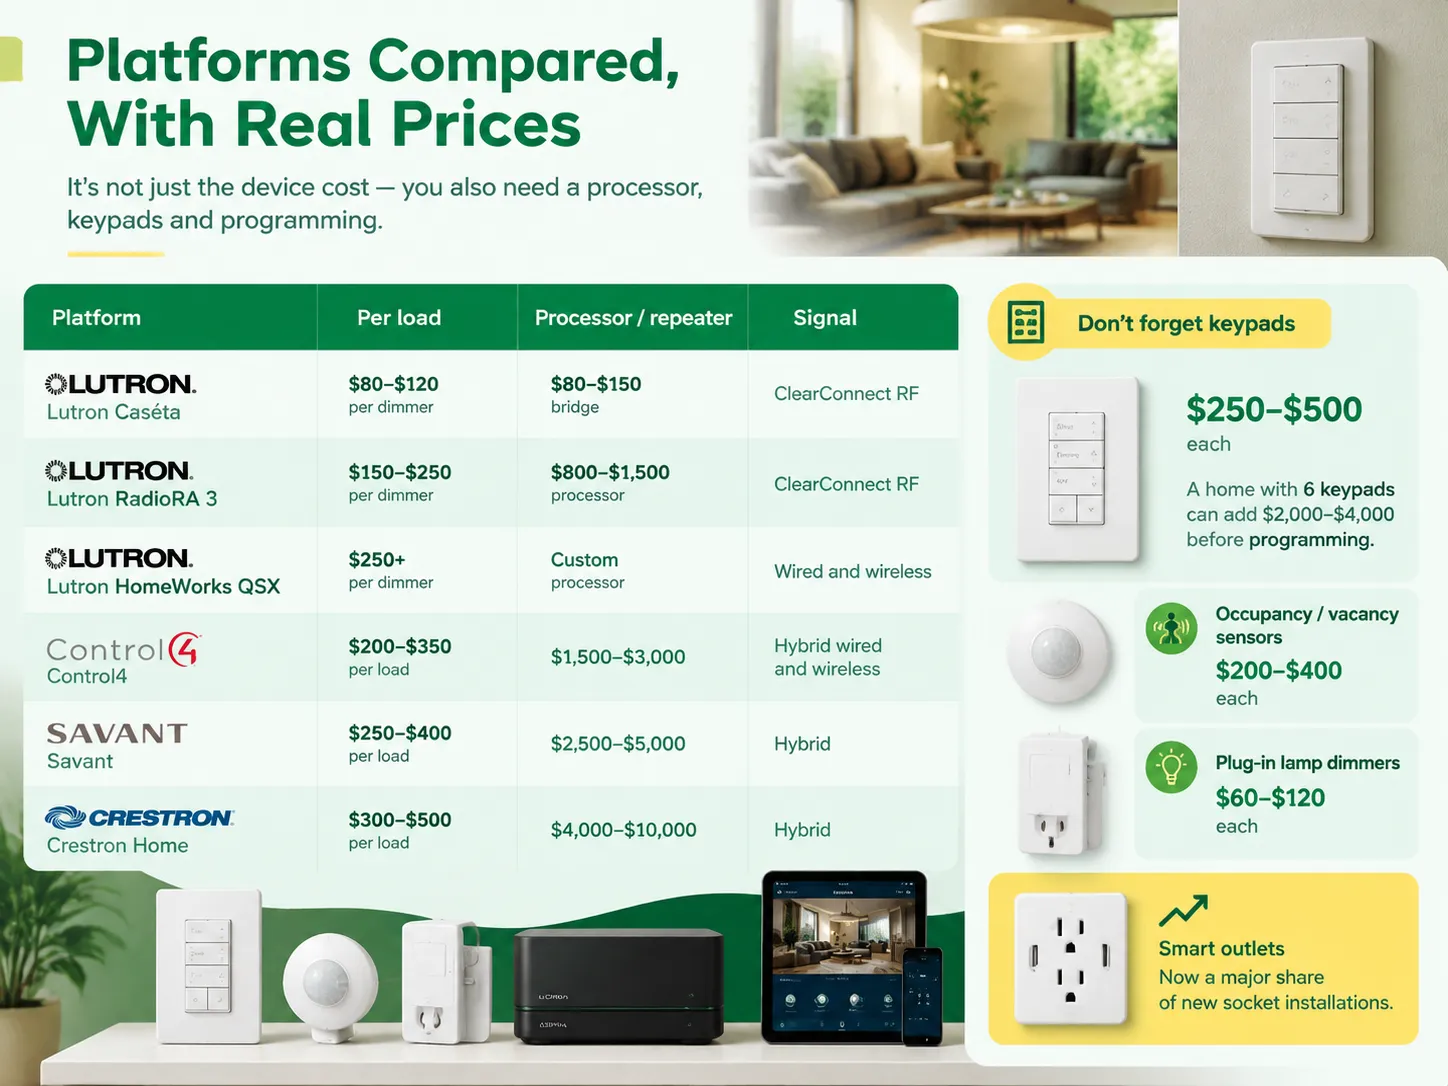
Price in light control involves a number of components. Specifically, it is a combination of per-load device cost plus the processor cost plus the keypads and the programming cost. A customer looking for the price based only on the device will not consider the processor cost which usually becomes the most costly part in the whole process.
| Platform | Per load | Processor / repeater | Signal | Notes |
|---|---|---|---|---|
| Lutron Caséta | $80–$120 per dimmer | $80–$150 bridge | ClearConnect RF | DIY-installable; works with Apple Home, Google, Alexa; limited to around 50 devices |
| Lutron RadioRA 3 | $150–$250 per dimmer | $800–$1,500 processor | ClearConnect RF | Dealer-only programming; retrofit-friendly; up to roughly 200 devices |
| Lutron HomeWorks QSX | $250+ per dimmer | Custom processor | Wired and wireless | Required for the full Ketra tunable-white fixture line; new build and gut remodel |
| Control4 | $200–$350 per load | $1,500–$3,000 | Hybrid wired and wireless | Unified lighting, AV, security and climate in one app |
| Savant | $250–$400 per load | $2,500–$5,000 | Hybrid | Interface quality and scene design; strong in design-led residences |
| Crestron Home | $300–$500 per load | $4,000–$10,000 | Hybrid | Large and multi-structure estates; extensive programming |
Keypads have a greater influence on price than most homeowners assume. Each four to seven button architectural keypad costs around $250 to $500, and if the home has keypads located in the master bedroom, front door, kitchen, living room, master and garage entry closet, the owner pays $2000 to $4000 before programming. This amount spent is worth it, because keypads enable you to feel the system as part of the house rather than an application. Occupancy and vacancy sensors cost about $200 to $400, and plug-in dimmers vary from $60 to $120 in price.
The subsequent hardware component — the actual wall dimmers, switches, sensors and sockets — is the fastest-growing market today as smart sockets are becoming the biggest players in the installation of new sockets, while USB-integrated sockets take about one-third of all socket demand at the moment.Trends and market structure are covered in our industry analysis of the light switch and electrical socket market.
This trade is regulated by some licensing requirements in California. The classification of the license is also important – the low-voltage and lighting control tasks are assigned to contractors with a C-7 license, while the C-10 electricians are in charge of the rough electrical wiring and the line-voltage work. If a contractor has one license but not the other, he can either subcontract or ask you to organize separate services.
| Provider | Base and coverage | Platforms | What sets them apart |
|---|---|---|---|
| Regent5 | Bay Area; SF, Peninsula, South Bay, East Bay, Marin, Monterey | Savant, Control4, Crestron, Lutron HomeWorks QSX and RadioRA 3, Ketra | Holds both C-10 and C-7 licences (CSLB 1033103) and runs a San Carlos design centre with working keypads and two Ketra colour-rendering rooms |
| Proava Tech | San Francisco and Marin County, operating since 2015 | Lutron, Control4, Crestron, audio and IP surveillance | C-7 Low Voltage Systems licence (#1122813), $2 m insured, family-operated, with a long record of multi-site commercial rollouts |
| Jewell’s Quality Home Systems | San Francisco through the wider Bay Area | Savant, Crestron, Lutron Diamond dealer | Three generations and over 50 years in Northern California; lighting design and automation under one roof |
| Full Spectrum Technology Group | Concord; East Bay, Napa County, Los Gatos | Savant, Control4 | HTA-certified team with remote monitoring; founded 2020 |
In practice, there are three test questions that set these companies apart, and these questions will never be found on a website. First, ask who programs the system. If the programming belongs to a home and exists strictly on a dealer’s computer, this will create problems for selling and servicing. Then ask what happens when the manufacturer ceases producing the platform, as it often happens: certified dealers have the knowledge of legacy versions which allows them to provide services and transfer data instead of starting from scratch.
Finally, make sure to ask which license is actually covering your needs. Although working with a contractor and a licensed electrician on the high-voltage side is a normative situation, if a company cannot say what license applies to the job it offers, be careful. The local area for servicing should also be taken into account — a truck that has to travel for a long distance will be very slow in the evening on Friday.
The price of a RadioRA 3 system installed in a San Francisco house measuring 4000 square feet and having around 30 to 40 managed loads by professionals would be around $15,000 to $25,000. On a like-for-like basis, the cost for a similar number of circuits for HomeWorks QSX will be around 50% greater, and the two systems also use different wiring, keypad and processor technologies so there is no sensible way of upgrading one to the other, which means that a project that may eventually involve QSX has to begin with the selection of a QSX platform.
Though larger homes might raise the cost even further. The cost of an installation of a HomeWorks QSX lighting system with 100 circuits usually starts at around $30,000 before taking lights, shades, and installing costs into consideration, while for properties with multiple buildings, Ketra products, and motorized shades the total may reach $75,000 to $200,000. All-in-one platforms offer similar prices: a Control4 lighting system with 30-40 loads will cost around $20,000 to $35,000, and property equipment and installation prices do not fall below six figures in case of systems such as Crestron and Savant that combine audiovisual equipment with lighting, shades, security, and climate control systems.
The issue that is typically neglected while budgeting but emerges later arises during installation. When constructing a new building, pre-wired low voltage systems are financially advantageous. Depending on the scope of the project, the overheads may range from $1.50 to $4.00 per sq ft and a project for a 4000-sq-ft house incurs expenses of around $6,000 to $16,000 and the price of the final stage of the installation is much higher. In case of an upgrade, however, failure to install a neutral device may lead to significantly increased installation expenses as the cost of the device might go from $20-35 to $40-80 for the no-neutral version.The device side of that budget — sensors, dimmers, sockets — is where a range like the USB-C wall socket range sits, and specifying devices to match the control platform is cheaper at design stage than reconciling them afterwards.
The standards set forth in Title 24 of 2025 will go into effect on January 1, 2026, pertaining to all new residential buildings built and any renovations with a permit. There are four components making it easier for the lighting design in San Francisco to follow the state standards.
The main requirement of JA8 is that all installed luminaires have to comply with the approved standards on lighting including exceptions for interior lighting of exhaust fans and range hoods as well as other lighting elements under five watts. The concept of JA8 should be applied as it refers not only to efficacy but also to color rendering index, dimming down to 10 per cent, startup time, flicker level, and noise level. Otherwise, a cheap LED and a suitable LED will behave differently on the dimmer unit.
It should be noted that occupancy and vacancy sensor with automatic off must be installed for one of the lights in either bathroom or garage. Also, wall-mounted dimmers should be available for all kinds of lighting in all habitable rooms but there are some exemptions from the rule. While modifying the lighting system in any of the living rooms and kitchens, dimmers that will be used should comply with the standards spelled out in NEMA SSL 7A.
Some fixtures require installation of manual switch and either photo-eye and motion sensor or photo-eye and time switch. Energy management system that meets the requirements for dimming and dimming based on occupancy can become a solution provided that it operates as it is required and does not go around the necessary controls. Some practical comments should be made – “Title 24 Compliant” labeling is prohibited by California legislation and there are no exceptions to this rule.
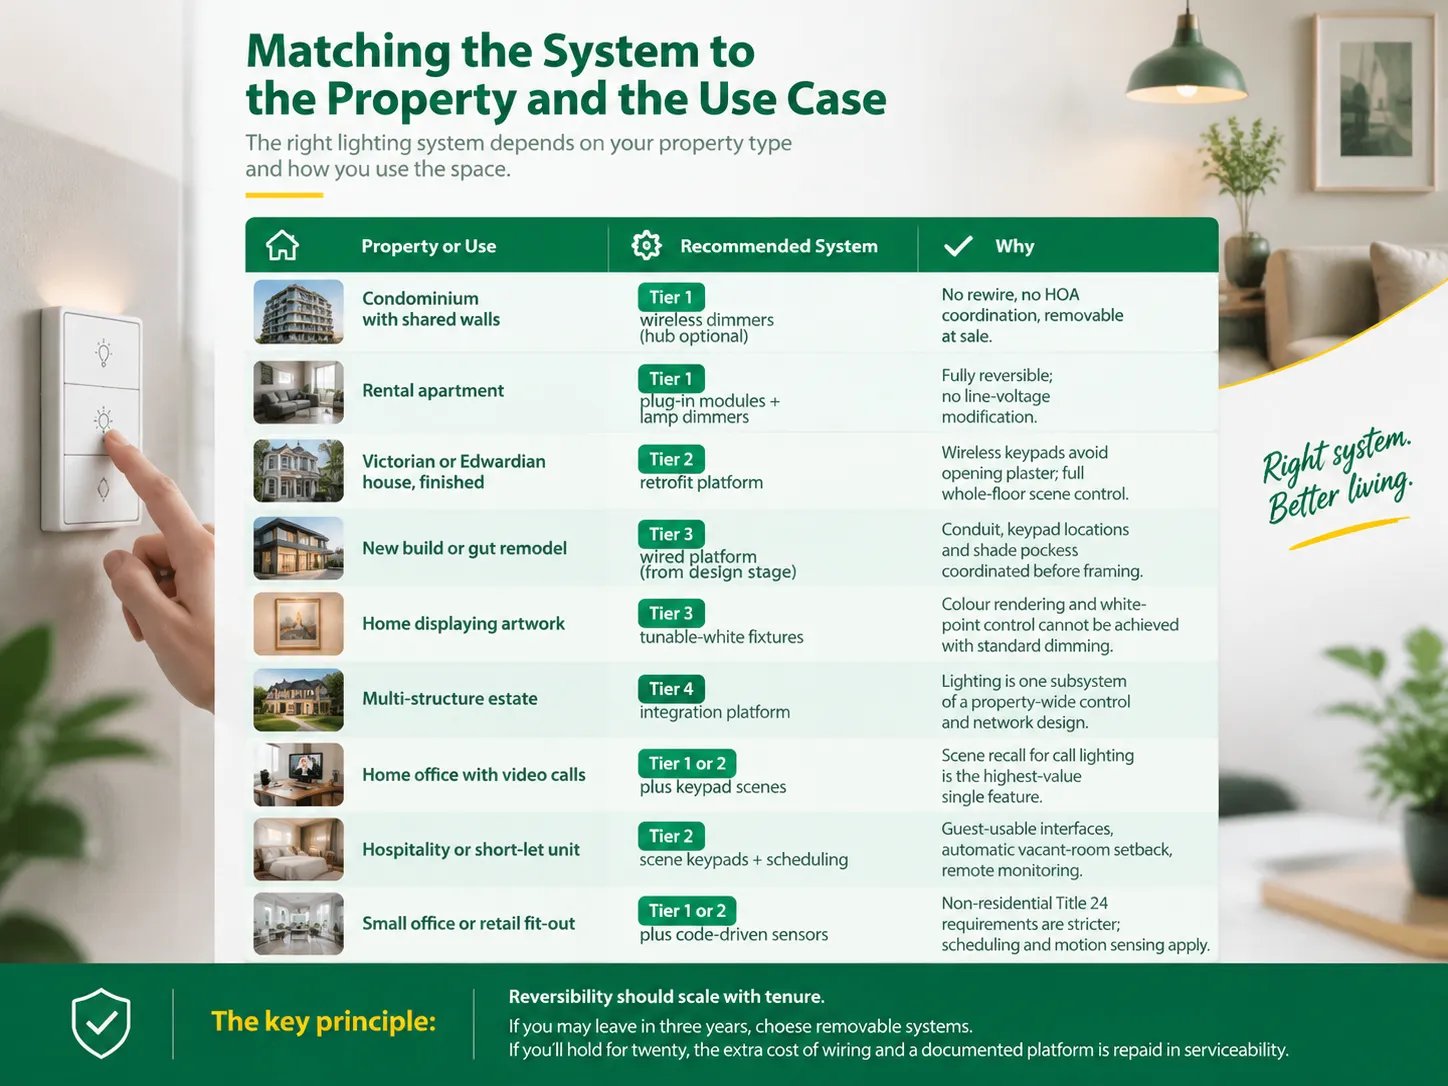
The decision for which tier to choose solves nearly all the projects, but the property type and the application of it affect the decision. The table below shows how these decisions are normally made in the Bay Area.
| Property or use | Practical recommendation | Why |
|---|---|---|
| Condominium with shared walls | Tier 1 wireless dimmers, hub optional | No rewire, no HOA coordination, removable at sale |
| Rental apartment | Tier 1 with plug-in modules and lamp dimmers | Fully reversible; no line-voltage modification |
| Victorian or Edwardian house, finished | Tier 2 retrofit platform | Wireless keypads avoid opening plaster; full whole-floor scene control |
| New build or gut remodel | Tier 3 wired platform from design stage | Conduit, keypad locations and shade pockets coordinated before framing |
| Home displaying artwork | Tier 3 with tunable-white fixtures | Colour rendering and white-point control cannot be achieved with standard dimming |
| Multi-structure estate | Tier 4 integration platform | Lighting is one subsystem of a property-wide control and network design |
| Home office with video calls | Tier 1 or 2 plus keypad scenes | Scene recall for call lighting is the highest-value single feature |
| Hospitality or short-let unit | Tier 2 with scene keypads and scheduling | Guest-usable interfaces, automatic vacant-room setback, remote monitoring |
| Small office or retail fit-out | Tier 1 or 2 plus code-driven sensors | Non-residential Title 24 requirements are stricter; scheduling and motion sensing apply |
In general, the principle indicates that reversibility should correlate with length of stay. If the tenant is leaving in 3 years, opt for systems that are easily removable. If the property is going to be occupied for 20 years then the cost incurred in the equipment and documentation is justified by the service provided.Owners who want the decision framed around their home rather than a product line will find the trade-offs laid out in our guide to choosing the right smart switch.
Whether it is the tenacity of the walls, the status of the state, or the extent of your control over the house that determines your choice between different systems? For simple rentals/condos and individual room upgradings, Lutron Caseta is the least risky option as it utilizes the pre-installed wiring of the property and could be easily removed later. For finished houses where you want a number of keypad scenes on different floors or just 30-40 loads installed professionally, RadioRA 3 is the best system to choose with an approximate price of $15,000-25,000. In case you want to build a new construction or remodel the entire house or value the effect of art and colors, wired options such as Lutron HomeWorks QSX would suit you best. The main point is to pay attention to whether the walls are closed or not because if the walls are already closed it would no longer be feasible to take advantage of the wired options.
The three options for implementing smart home technology are ranking from the least reliable to the most reliable. Scheduling means programming the home system to switch on and off at certain times regardless of whether there are people inside. Geofencing or an out-of-the-house mode kicks in when the last mobile device leaves the premises. It is very handy but the functioning of geofencing highly depends on GPS accuracy. The best way to access the entire system from anywhere is through the app produced by the company. To guarantee security, the best idea is to implement a randomized evening routine that does not repeat each day and controls the lights in all the rooms. This idea should ideally also combine the work of outdoor lighting that operates on a time clock. Note that smart home devices that rely on cloud technology cannot function properly without the Internet.
By level of sophistication, in the currency of 2026. Caséta is the most basic system used by the homeowners; its starter pack is around $180 to $320, while an extra dimmer costs between $40 and $120. Home installation services cost between $5,000 and $12,000, contingent on how many appliances you install. RadioRA 3 is only available through dealers, with dimmers costing between $150 and $250 plus the processor costing $800 to $1,500. Overall, it makes the installation of a load home with a total of 30 to 40 lasting about $15,000 to $25,000. HomeWorks QSX is a smart luxury home automation system costing about $250 and more per dimmer, plus a custom processor costing about $30,000 without counting fixtures, curtain control and installation services.
Using the platform’s app, on-line or with voice control through Apple Home, Google Home and Alexa where applicable. Remote control is initiated from your phone and involves the vendor’s cloud and the processor being used locally. As a result, three elements are necessary for the remote control function: stable Wi-Fi on the processor, the internet present, and the cloud service being in operation. The important design question is what happens when one of those three fails. It is advisable to store scheduled automation and keypad scenes on the processor so the home can function as supposed even without the cloud and rely on the app as a supplement instead of the fundamental part. In case you leave your property unattended for a long time, create the scenes connected with the security of the house only on the basis of local schedules and remote monitoring, rather than depending on the app that needs manual control from another time zone.
Lighting controls in San Francisco constitute a planning challenge that should take precedence over product issues. The legislation requires lighting systems to automatically adjust and/or turn off in living environments. The manufacturer’s choice is limited to whether walls are open. Once the timing and requirements are established, the company can successfully place the order while overcoming some risks.
There are three points to remember. The neutral must be checked before the quote is accepted, as one survey result will change the list, cost, and the tier. Determine the owner of the programming files before signing a contract — without ownership of this crucial element, it will be impossible to implement the project. The right tier must be established before the manufacturer is chosen — if the wired solution is selected after the installation of carpentry, it will not be affordable. Following these points, the lighting system can do its job effectively and efficiently.
San Francisco is not the average lighting control market. The housing stock is old and dense, and the electrical code does not allow for as many electrical installations as is allowed almost anywhere else in the U.S. Most homes that want complex lighting are Victorian or Edwardian buildings where no one wants to start opening […]
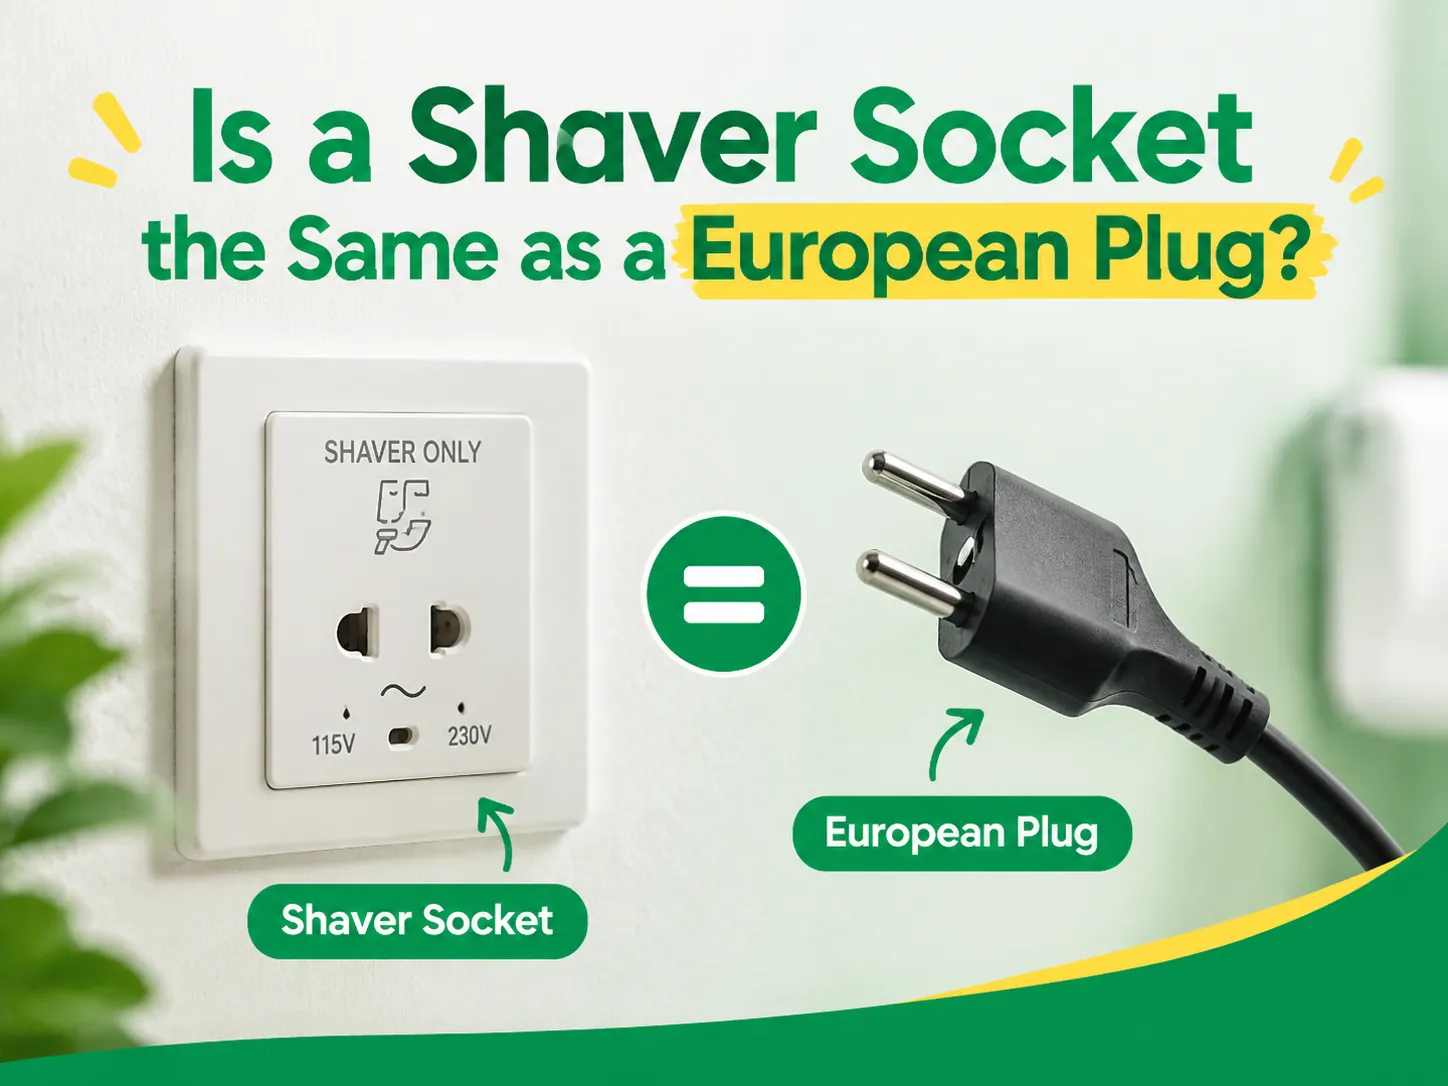
Although they seem to be alike, they both have a round shape with two pins, and they function at a voltage of 230V. This explains why some tourists use a European plug with a British shaver or wonder why a shaver cannot be plugged into a Schuko socket in a Spanish hotel. In reality, they […]
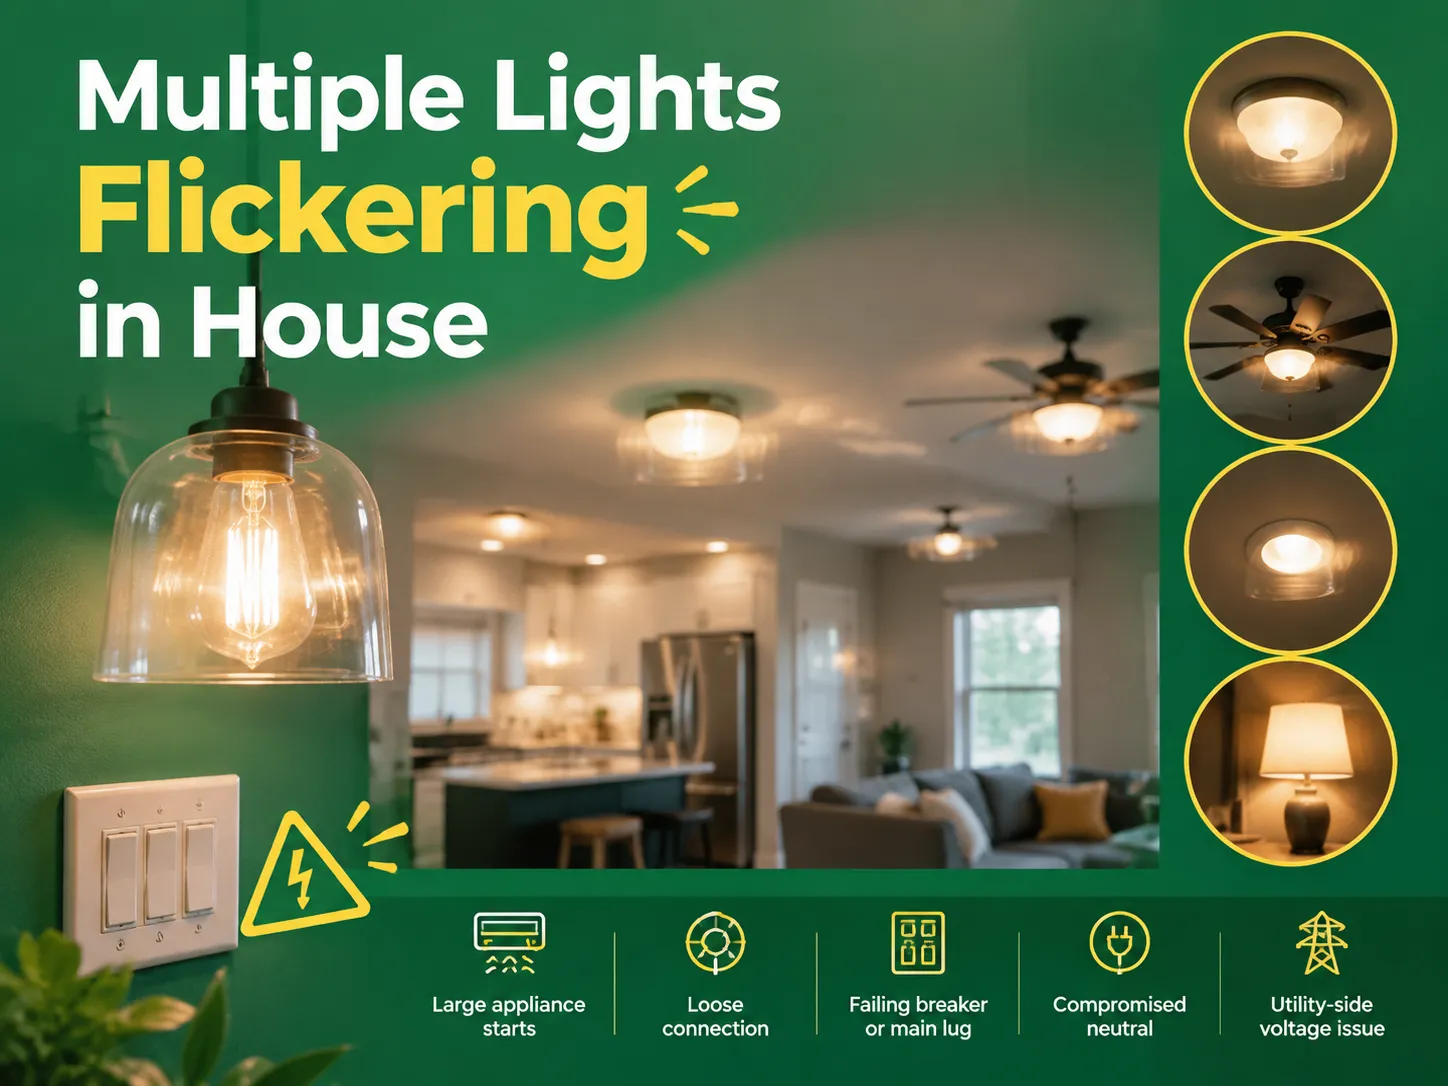
A flickering bulb can be interpreted as a local problem — the bulb worn out, the light fixture connected poorly, or it could be that you have a cheap dimmer. But if there is more than one bulb flickering simultaneously, in different rooms, you need to see the situation differently. Many flickering bulbs signal a […]

 No.6 Tuozhan Road, Leshang Pioneer Park,Yueqingwan Bay Harbor,Yueqing city,Zhejiang Province


