A 2-way light switch gives you the power to control a single light fixture from two different locations. It’s the smart and convenient solution for areas like staircases, long hallways, and large rooms with more than one entrance.
Ever wanted to turn on the hall light as you walk in the front door and turn it off at the other end? Or control your staircase light from both the top and bottom of the stairs? That’s exactly what 2-way switching is for.
This guide will explain everything you need to know about 2-way light switches, including how they work, how they differ from a standard switch, and how to install them safely.
Key Takeaways:
Important Note on Terminology: In the UK, Europe, and Australia, controlling a light from two locations is called 2-way switching. In the United States, the same function is called 3-way switching. This article focuses on the 2-way switching standard used in the UK and Europe.
A 2-way switch is a pair of light switches wired together to control one light fixture from two separate locations. For example, you might have one switch at the top and bottom of a staircase, or at each entrance to a large conference room.
This provides control and convenience – instead of needing to walk to one spot to turn the light off, you can do it from one switch as easily as from the other. The key is that the two switches are wired together with the light fixture in a looping configuration.
Unlike a simple 1-way switch that just opens or closes a circuit, a 2-way switch redirects the current down one of two ‘traveler’ wires to the second switch. Together, they complete the circuit, regardless of their individual positions.
| Feature | 1-Way Switch | 2-Way Switch |
|---|---|---|
| Control Points | One location | Two locations |
| Terminals | 2 (COM, L1) | 3 (COM, L1, L2) |
| Common Use | Standard rooms | Stairways, hallways |
So where might you want to install these dual control switches in your home or workplace? There are several prime locations that benefit from accessing a light from two spots.
Having a 2-way setup for overhead stair lighting gives control at both the top and bottom of the steps. Instead of climbing up in the dark or leaving lights on, family members can flip them on or off from either floor.
For long corridors or hallways, putting 2-way switches at each end provides convenience. Rather than walking down to hit a single switch, you can turn hallway fixtures on as you enter and then off again at the other end.
In larger rooms like a basement, living room or open concept area, a 2-way setup lets occupants turn lights on/off from different doorways or entries. This avoids having controls only in one inconvenient corner.
Exterior lighting on houses, garages, driveways can also benefit from a 2-way setup. Put one switch by the rear entry and another switch by the front door to manage exterior lamps and security lighting from either location.
You can control a light from three or even more locations. To do this, you must add one or more intermediate switches on the traveler wires between the two 2-way switches. This is a perfect solution for very long hallways or large, open-plan rooms with multiple doorways.
This guide provides the basic steps for wiring a 2-way switch circuit. However, electrical work can be complex and varies based on your home’s existing wiring.
CRITICAL SAFETY WARNING
Working with electricity is dangerous and can be fatal.
Before you connect a single wire, study the wiring diagram. This is your map. Understanding it is key to a successful installation.
(Here, you MUST insert a clear, easy-to-read wiring diagram for a 2-way switch. This is the most valuable part of the entire guide. The diagram should show the incoming power, the cable to the light, and the 3-core cable running between the two switches.)
Go to your main fuse box or consumer unit and switch off the circuit that powers the lights you are working on. Post a note on the unit so that no one accidentally turns it back on while you are working.
At the first switch location (where the power comes in), you should find two cables:
At the second switch location, you should also find two cables:
If the switches do not work as expected, immediately turn the power off at the consumer unit and re-check your wiring against the diagram. If you are unsure, call an electrician.
When it comes to innovative lighting products for smart automation and control, IGOTO Electric leads the way. As an OEM manufacturer of switches, dimmers and custom solutions for over 25 years, their two-way light switches exemplify the quality and capabilities of the IGOTO line.
These versatile dual control switches give homeowners and businesses convenient lighting management from multiple locations in a space. Part of IGOTO’s emphasis on connectivity, they are building blocks for advanced systems integrating security, energy use monitoring, scenes and schedules into an all-in-one solution.
While DIY-friendly, IGOTO products are made for professional electricians and electrical distributors serving high-end residential and commercial installations. Robust materials, meticulous quality control and rating for high in-rush lighting loads makes their switches ideal for integration into new builds or existing spaces.
Whether building a new smart home from scratch or upgrading an existing structure, lighting control is key. Installing versatile and hardworking 2-way switch setups makes it easy to manage overhead lights, lamps, exterior fixtures and more from multiple locations. No more fumbling in the dark for a switch!
As you evaluate options for reliably engineered and creatively designed light switches, keep IGOTO Electric in mind. Their premium yet affordable products give professional electricians the high-quality and flexibility needed to deliver next-level automation.
Ready to take your remodeling, new construction, or facility lighting project to the next level with smart controls? Contact the pros at IGOTO Electric today for advice or a quote!
A: COM (Common) is the pivot point. On one switch, the permanent live wire connects here. On the other, the switched live wire to the light connects here. L1 and L2 are the terminals for the two “traveler” wires that run between the switches, creating the two possible paths for the electricity.
A: Yes, you can use a 2-way switch in a 1-way circuit (by using only the COM and L1 terminals), but you cannot perform 2-way switching without running the necessary 3-core cable between the two switch locations.
A: A 2-way switch has 3 terminals and is used at the ends of the circuit. An intermediate switch has 4 terminals and is placed between the two 2-way switches to add a third (or more) control point.
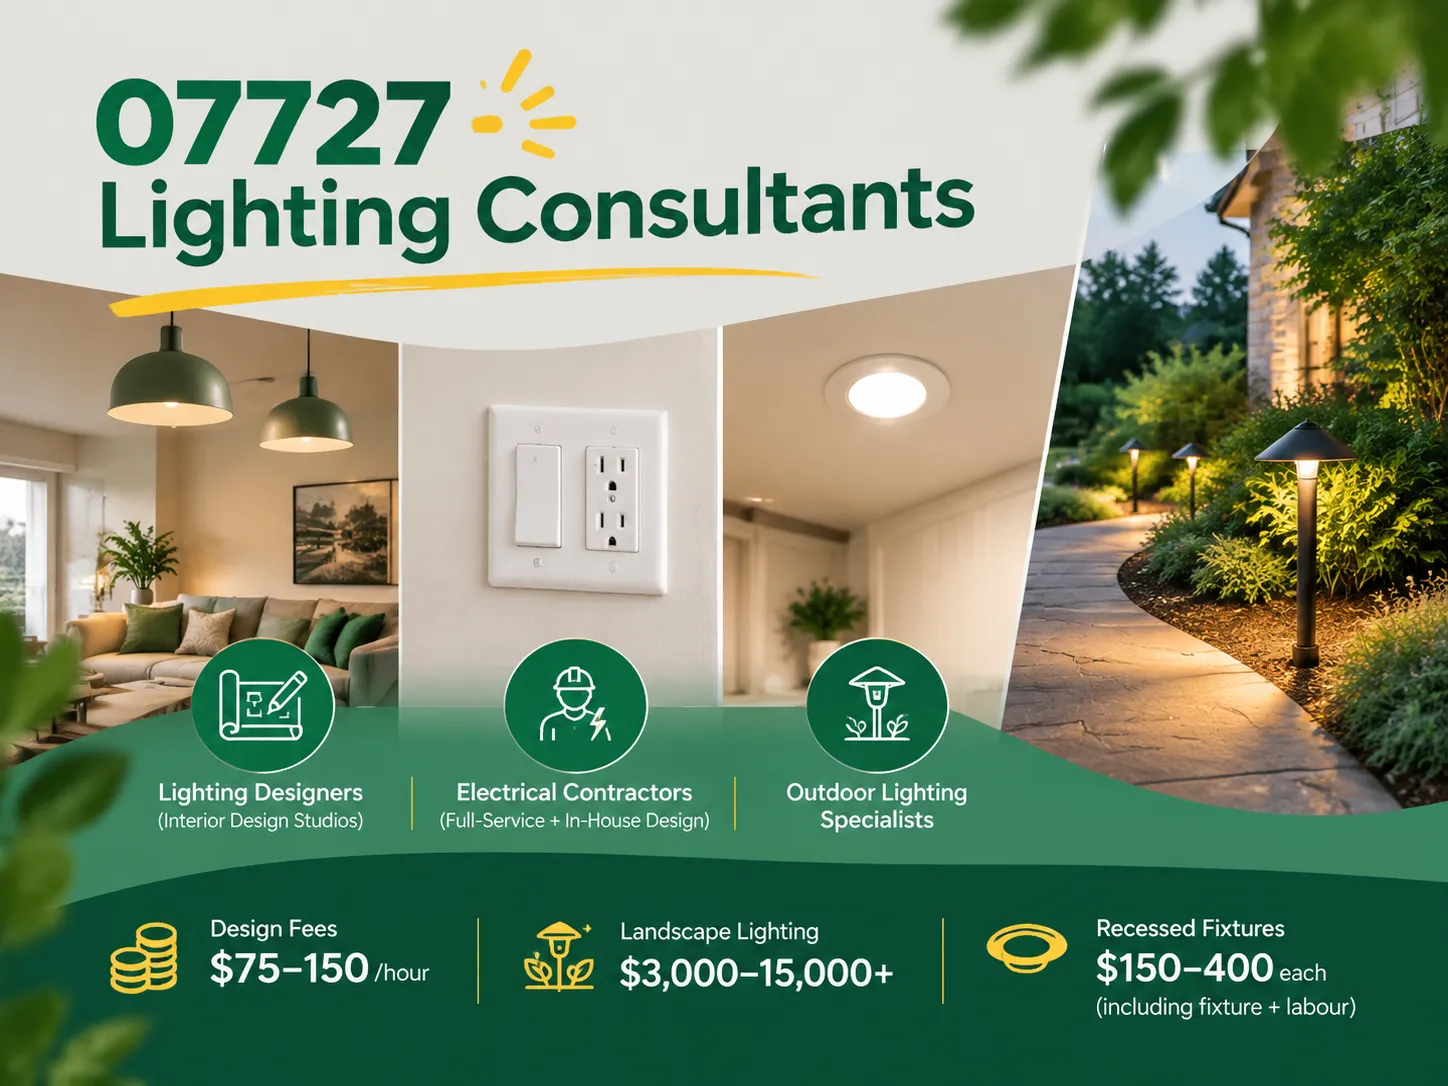
Farmingdale, along with parts of Wall Township and Tinton Falls, New Jersey, share the same zip code of 07727. Most of the houses built from the 1950s to the 1990s still exist today. Most of the homeowners are renovating their houses as opposed to building new homes. Homeowners tend to spend a lot more on […]

The term “07984 lighting consultants” gives people the impression that the five digits represent a postal code of some sort that indicates the place where lighting consultants provide services. This is, however, incorrect: there is no postal area coded 07984, which is only a code of mobile telecommunications in Great Britain. This means that the […]
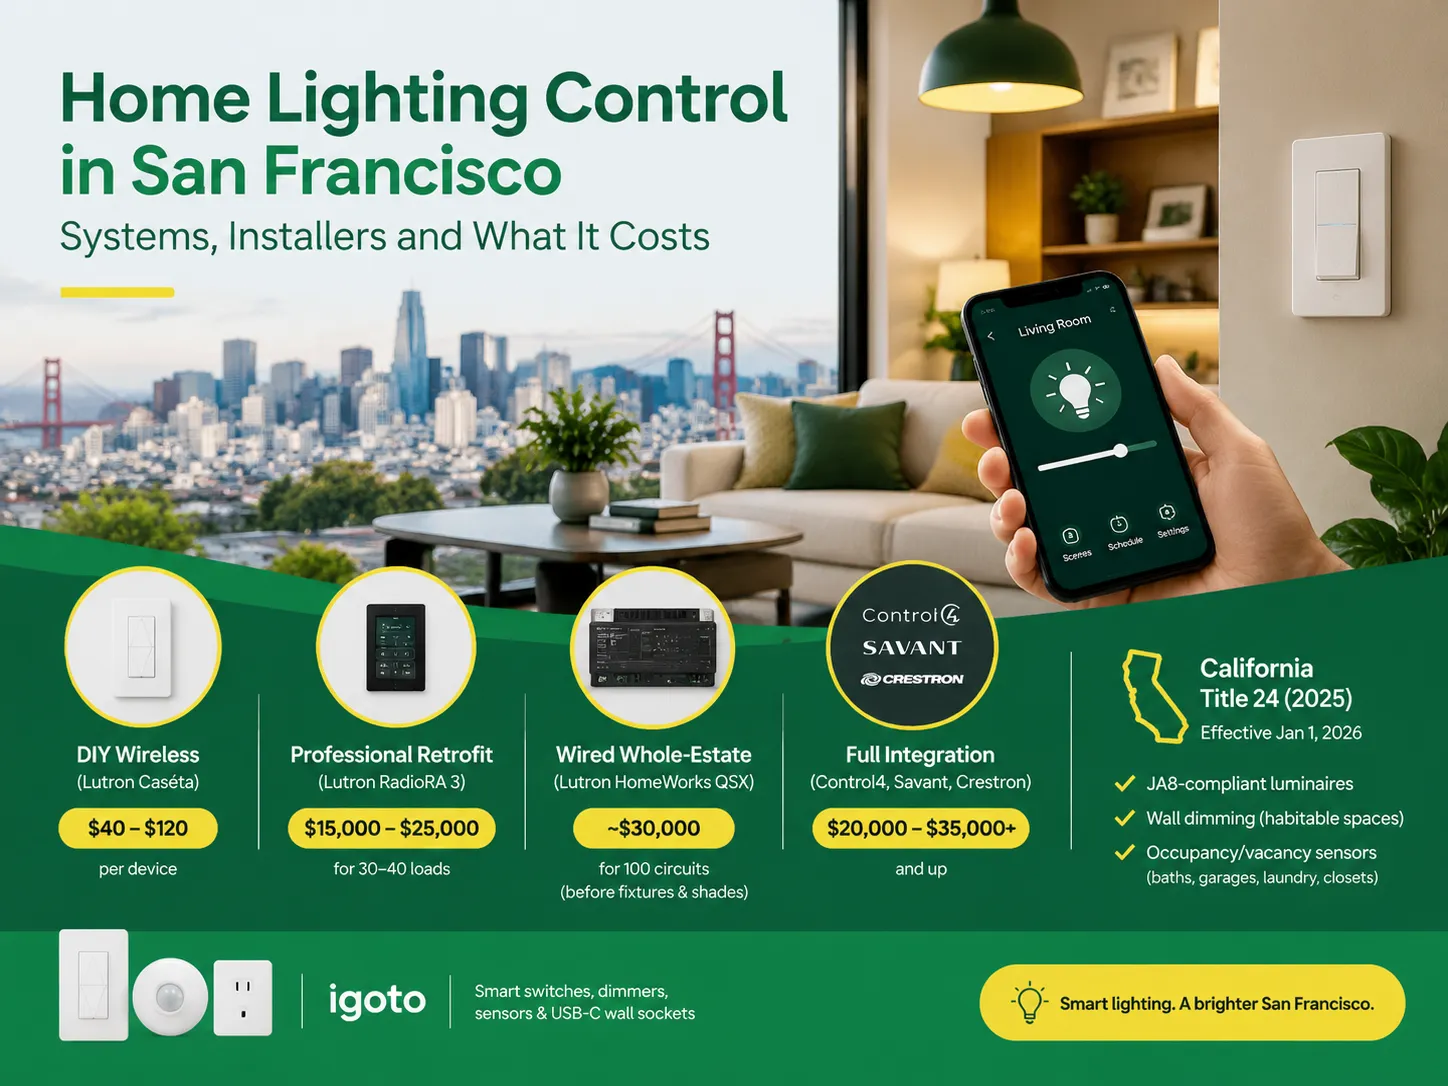
San Francisco is not the average lighting control market. The housing stock is old and dense, and the electrical code does not allow for as many electrical installations as is allowed almost anywhere else in the U.S. Most homes that want complex lighting are Victorian or Edwardian buildings where no one wants to start opening […]

 No.6 Tuozhan Road, Leshang Pioneer Park,Yueqingwan Bay Harbor,Yueqing city,Zhejiang Province