

You find yourself at the hardware store holding a ceiling fan package in one hand and a light dimmer switch in the other. You might even wonder whether dimmer switches can regulate fan motors in the way they can with light bulbs. This is a question many home improvement enthusiasts ask themselves. While the answer is straightforward, it is useful to understand why this is so. Therefore, you should not use a traditional light dimmer with a ceiling fan motor, but you can safely operate the fan light with a dimmer. In this article, we will go into details on this subject.
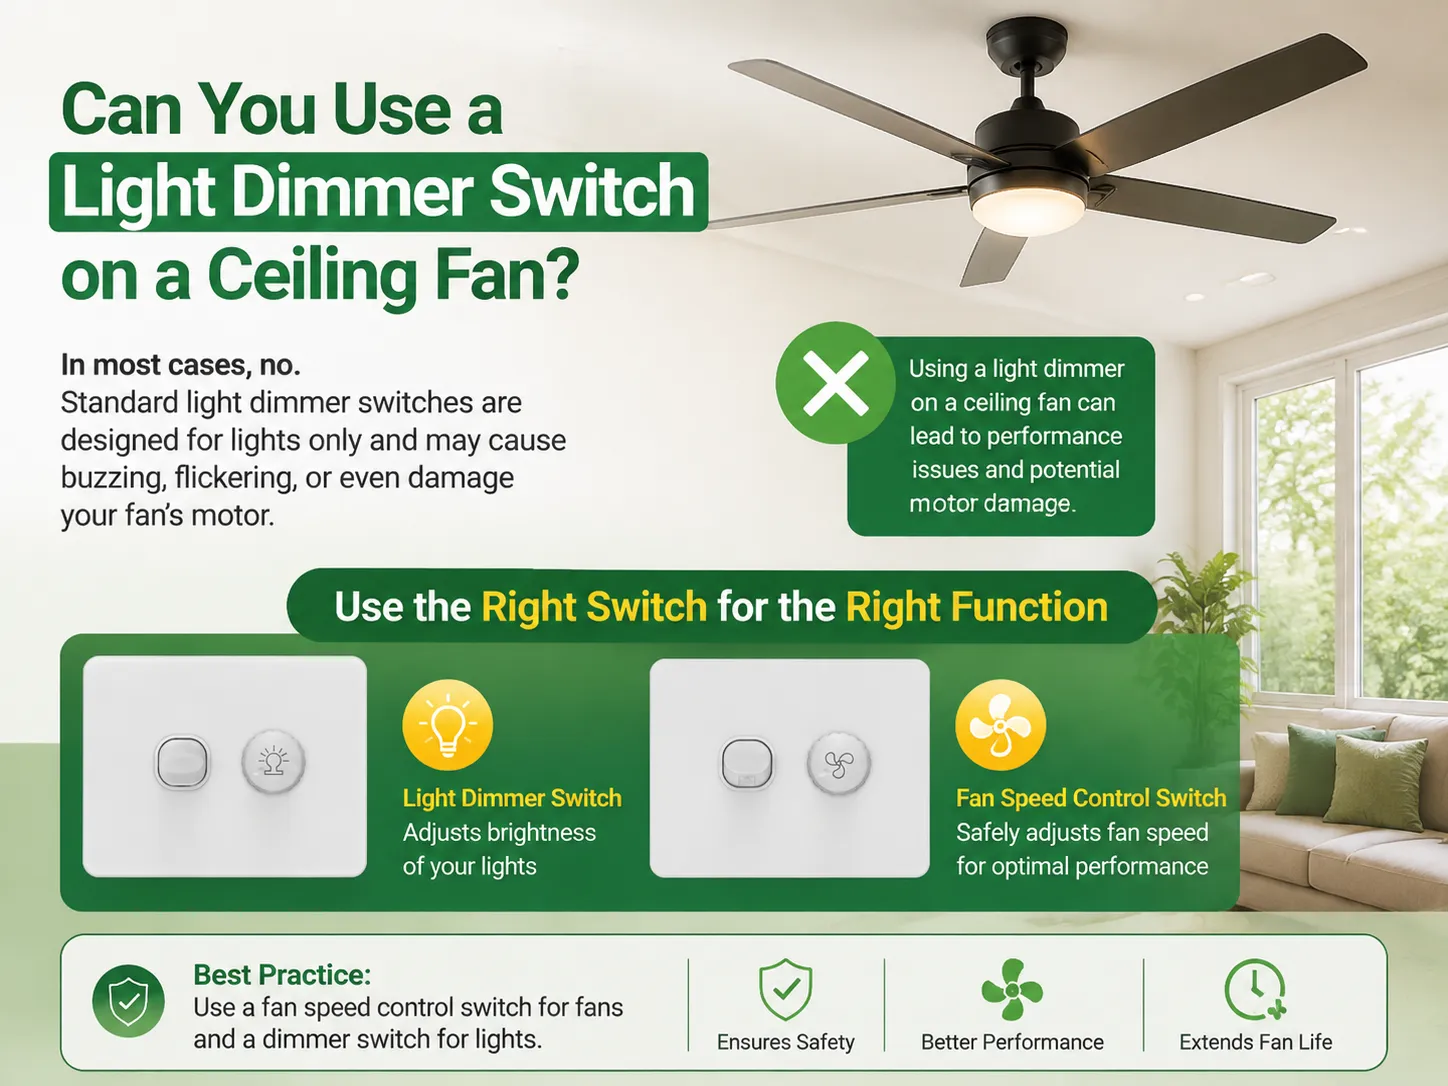
In conclusion, no, a dimmer switch cannot be used to control the ceiling fan motor. A dimmer switch operates by lowering the electricity supply for a resistive load like a bulb while a ceiling fan motor is an inductive load which depends on a clean power supply to work properly. If the dimmer is used on a ceiling fan, loud hums from the motor or even overheating may occur along with other potential consequences like burning out the motor and/or fire hazards. Moreover, using a dimmer switch on a ceiling fan may void warranty services available for the majority of ceiling fans. However, if the ceiling fan has been wired using independent hot wires for the light and the motor, it may be possible to use a dimmer light kit.
The question “can you use a light dimmer switch on a ceiling fan” has two answers, depending on what you’re controlling:
| What You Control | Can You Use a Light Dimmer? | Why |
|---|---|---|
| Fan motor (blades) | No — never | Motor is an inductive load; voltage chopping causes overheating, humming, fire risk |
| Fan light kit | Yes — if separately wired | Bulbs are resistive loads; dimming works when the light has its own hot wire |
| Both (single switch) | No | A single dimmer can’t safely serve both a motor and a light |
In order to summarize, the complete response is: for the motor, a fan speed controller should be used, and for the light kit a dimmer can be used only if the wiring suits it. The same conclusion has been reached by professionals in the same field like electricians, the manufacturers of the fans as well as the electrical codes.
To understand why a light dimmer switch shouldn’t control a fan, you need to know the difference between the two loads:
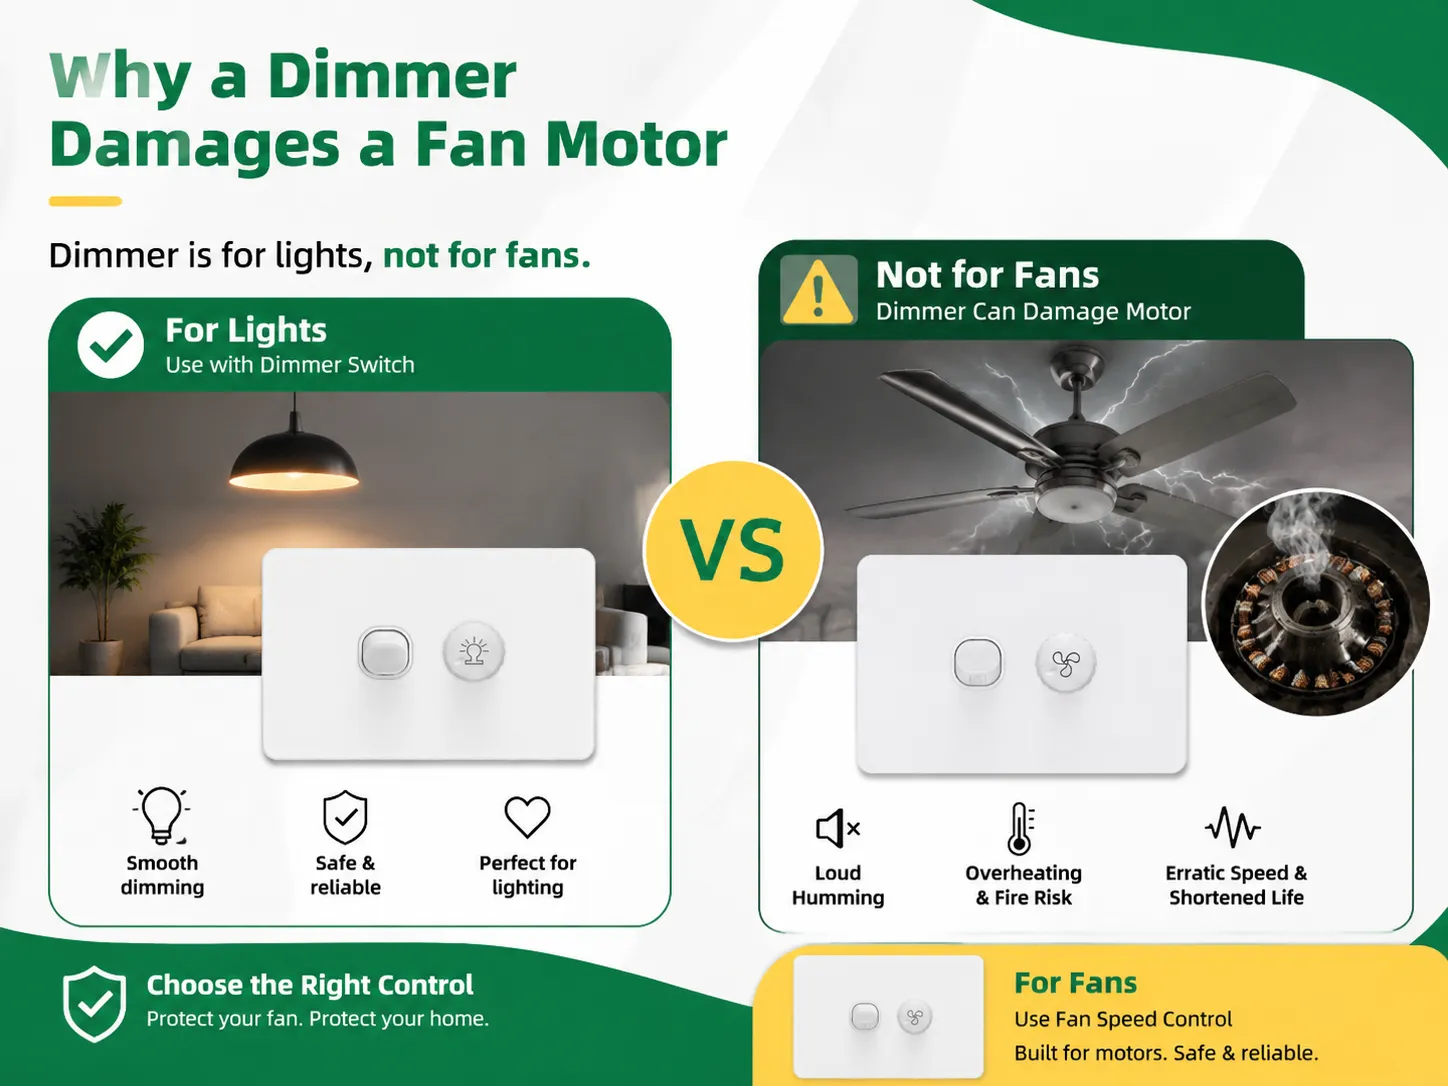
Most dimmers work by switching off parts of the AC voltage. This interferes with the functioning of the fan motor.
| Problem | What Happens |
|---|---|
| Loud humming / buzzing | The chopped waveform makes the motor windings vibrate at audible frequencies — the buzz gets worse at lower settings |
| Overheating | Reduced voltage forces the motor to draw more current to maintain torque; that extra current generates heat the motor wasn’t built to shed |
| Fire risk | Prolonged overheating can melt wiring insulation inside the motor and start a fire |
| Erratic speed | The fan may struggle to start, wobble, or change speed unexpectedly because it never gets clean power |
| Shortened motor life | Heat and electrical stress break down bearings and insulation over time |
| Voided warranty | Fan manufacturers explicitly prohibit standard dimmers on their motors |
| Code / insurance problems | Using a device outside its UL rating (a dimmer isn’t listed for motor loads) can fail inspection and complicate insurance claims |
Electricians and home inspectors agree that a basic dimmer switch is not adequate for controlling ceiling fan motor operation. When a fan is used with a dimmer switch, it may run well and appear to work properly for days or weeks, but it will eventually damage the fan’s motor.
This is the good news: if your ceiling fan has a lighting kit, you can dim the light — only when the fan is wired up with dedicated hot wires that are running from the wall switch box to the fan.There is one hot wire that runs the motor and one that runs the light case.With this 3-wire arrangement you can install:a dimming switch for light control and a regular switch or fan speed control for controlling the speed of fan.
Most of the new ceiling fans with lighting kits come with the dual wires arrangement and dual wall controls (one for the fan and one for the light) are made for it.Ensure that the bulbs of the light kit support dimming. If they do not, the dimming will lead to flickering and buzzing. Look for labeling on the packaging or check in the user manual of the fan for “dimmable” sign.
To control the speed of your fan using a wall switch, you need a fan speed controller (or a fan switch) that is specifically designed for inductive motor loads; as a result, it functions differently than a dimmer switch by using capacitance and/or triac designs to control power to the eddy current motors; thus providing a clean signal that the motor is capable of interpreting; and many offer different speed settings depending on how many capacitors it employs.It is very quiet as the motor will not hum due to having a constant wave of power supplied to it.
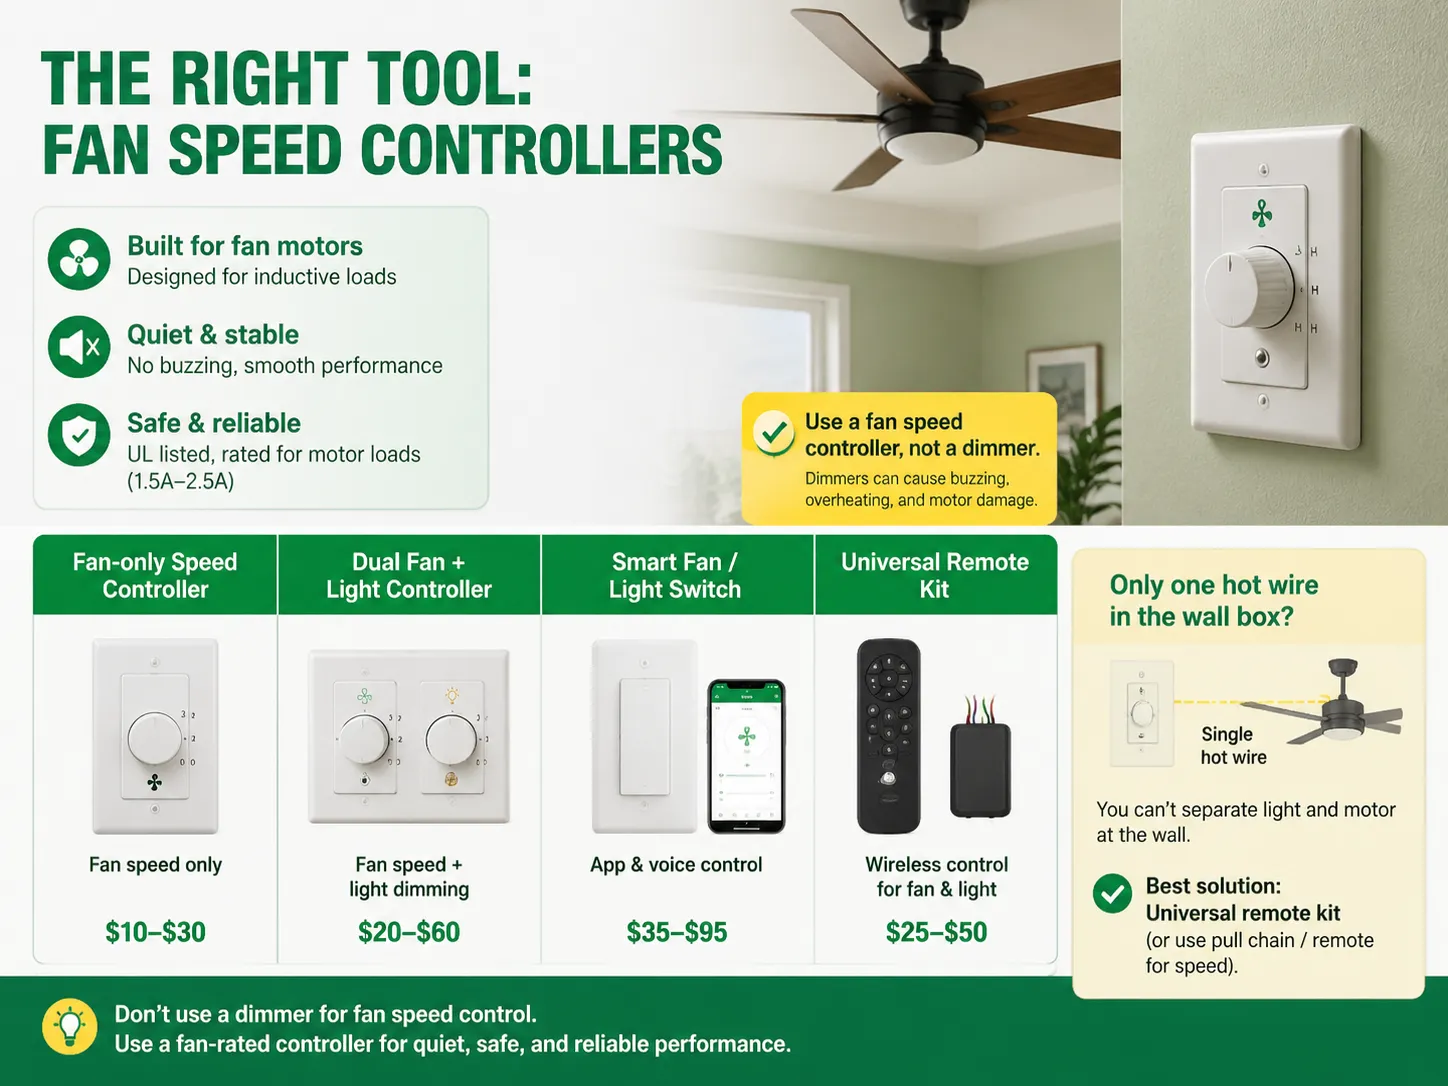
The working principle is that it does not use voltage cutting like a typical dimmer, but it controls power with the help of either capacitance or triac-based circuitry, making sure that the signal remains clean and usable by the motor. Often there are several levels of power to choose from (low, medium, and high) with the help of different capacitor values.
| Device Type | Controls | Price Range | Best For |
|---|---|---|---|
| Fan-only speed controller | Fan speed only | $10–$30 | Fans without a light kit, or lights controlled separately |
| Dual fan + light controller | Fan speed + light dimming | $20–$60 | Fans with light kits, separately wired |
| Smart fan / light switch | Fan + light, app/voice | $35–$95 | Smart-home setups |
| Universal remote kit | Fan + light (wireless) | $25–$50 | Fans wired with a single hot wire |
If there is only one hot wire in your wall box connected to the fan, you cannot separate the operation of the motor from that of the light from the wall. In such cases, you can either use a universal remote kit to operate the device (this will include the installation of a module in the fan’s canopy) or retain the current wall switch (which would still be a simple on/off switch) and control the fan’s speed through the pull chain or remote control.
For a step-by-step installation walkthrough, our guide on how to install a dimmer switch covers the same safety and wiring fundamentals that apply to fan controllers.
Before buying anything, check your fan’s type and wiring:
| Fan Type | How Speed Is Controlled | Wall Control Compatible? |
|---|---|---|
| Standard AC fan (pull-chain) | Internal speed taps via pull chain | Yes — fan speed controller works; set pull chain to HIGH |
| AC fan with light kit | Pull chain + separate light wiring | Yes — dual fan + light controller (needs 3 wires) |
| Fan with remote receiver | RF remote module in canopy | Usually no — a wall controller conflicts with the receiver; keep plain on/off switch |
| DC-motor fan | Built-in electronics / app | Usually no — use the fan’s own remote or app |
| Smart fan (Wi-Fi) | App / hub | No — use the manufacturer’s app |
In order to check your wiring: first turn off power, then take the cover plate off, and finally count the wires. If you see two separate hot wires (which usually say either “fan” or “light”) and the ground wire, you have the required 3-wire configuration of wiring for a dual controller. If there is only one hot wire detected, you may have to use a pull chain control or a remote control kit.If you’re unsure which switch style fits your home’s wiring, our overview of different kinds of switches in electrical explains single-pole, dual, and smart configurations in plain terms.
Here’s the correct setup for a fan with a separately wired light kit (two hot wires to the fan):
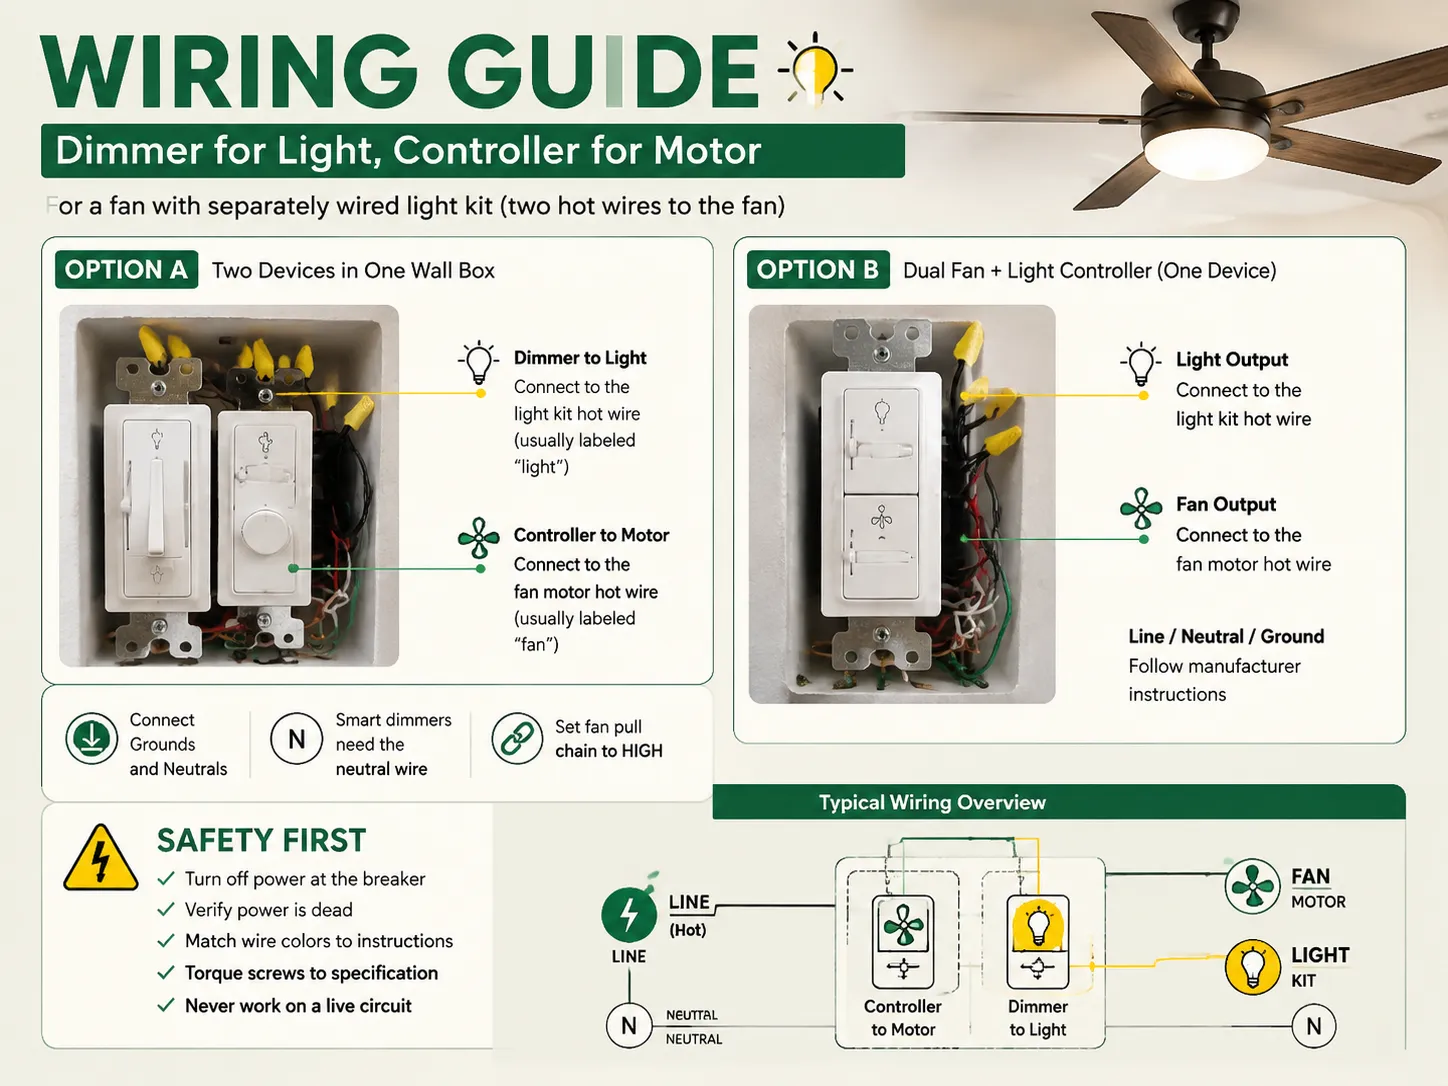
The right configuration for a ceiling fan that has a separate light kit (which is powered by two live wires to the fan) is as follows:
General safety rules that should be observed in both cases are: to switch off the breaker on the panel first, to make sure that the power is actually turned off, to compare wires of the same color according to the guide provided by the producer, to tighten screws according to specifications. If your wall box doesn’t correspond to any of the above-mentioned schemes, be sure to call a qualified electrician, as wrong wiring of the fan is one of the leading causes of fires in the ceiling and attic.
| Your Situation | Recommended Setup |
|---|---|
| Fan with no light, single wall switch | Fan speed controller (replace the switch) |
| Fan with light kit, separately wired | Dual fan + light controller, or controller + dimmer side by side |
| Fan wired with one hot wire, has light | Universal remote kit, or keep pull chains + plain on/off switch |
| DC / smart fan with app control | Use the manufacturer’s remote/app — keep wall switch as on/off |
| Fan already has a remote receiver | Keep wall switch as on/off — don’t add a dimmer or controller |
| Smart-home integration wanted | Smart fan + light switch (check neutral wire availability) |
If you want app-based dimming of the light kit without changing the fan wiring, a smart dimmer that works with the light’s separate circuit is an option — like IGOTO’s WiFi Smart Curtain & Dimmer Switch, which adds app control for compatible lighting circuits.
Note: Any buzzing from the motor, heat on the switch face or flashing of light show that the equipment should be put out of operation.
Don’t ever control a ceiling fan motor with a regular dimmer switch, since dimmers reduce voltage for resistive loads such as light bulbs, while fan motors are inductive loads requiring a stable and clean power source. Installing a dimmer on a fan motor will lead to loud buzzing noises, overheating, premature motor failure, and even fire hazards, plus it removes most warranties that accompany fans. The proper gadget would be a fan speed controller purposefully designed to control electrical power properly. However, it is permissible to use dimmers on the fan’s light kit if the fan has separate wires for the motor and for the light.
For this to work three aspects need to be considered: (1) a separate hot wire is installed for the light fixture (three wires ran from the switch into the wall), (2) the bulbs should be dimmable (check them for the dimmable label or replace non-dimmable LED) and (3) dimmer should be matched with the type of light bulb (dimmer compatible with LEDs: LED+/trailing-edge or a regular incandescent dimmer). Either a dimmer is to be installed on the wire with lighting and a fan speed controller is to be applied to the wire with the motor or use dual fan and light controller at the same place. If the fan has a single hot wire, you may use the universal remote kit placed in the fan canopy.
In theory, yes, a dimmer switch can be used to slow a fan motor down, but this is a risky option. Lowering the voltage means that the motor increases the current to maintain its torque; the results can be overheating, humming, inconsistence in speed and fire hazards. A motor is made to work at full voltage, and cutting its power creates damage to its windings and bearings, voiding warranty in the process. The right approach is to use a proper fan speed controller (or a pull chain or remote that goes with the fan).
A ceiling fan motor cannot be dimmed like lighting does, which means fan speed cannot be controlled using a dimmer. A dimmer cannot control a fan motor, the fan speed can only be controlled suing a remote, pull chain, or fan controller. However, it is possible to check if the fan’s light kit can be dimmed or not: (1) Look for the “dimmable” mention either on the light kit bulbs or in the manual of the fan, (2) Check if there are separate hot wires for the motor and light as this is crucial for wall dimming, (3) Make sure that wattage and the type of bulbs match the dimmer’s rating. If the light kit bulbs are not suitable for dimming or if the fan has just one hot wire, the light kit cannot be dimmed unless you change something (like swapping bulbs or using a remote kit).
When it comes to the question “can you use a light dimmer switch on a ceiling fan,” the answer is no — with regards to the motor. But as for the light kit, the answer is yes, provided that the wiring permits it.To sum up:

The term “07984 lighting consultants” gives people the impression that the five digits represent a postal code of some sort that indicates the place where lighting consultants provide services. This is, however, incorrect: there is no postal area coded 07984, which is only a code of mobile telecommunications in Great Britain. This means that the […]

San Francisco is not the average lighting control market. The housing stock is old and dense, and the electrical code does not allow for as many electrical installations as is allowed almost anywhere else in the U.S. Most homes that want complex lighting are Victorian or Edwardian buildings where no one wants to start opening […]
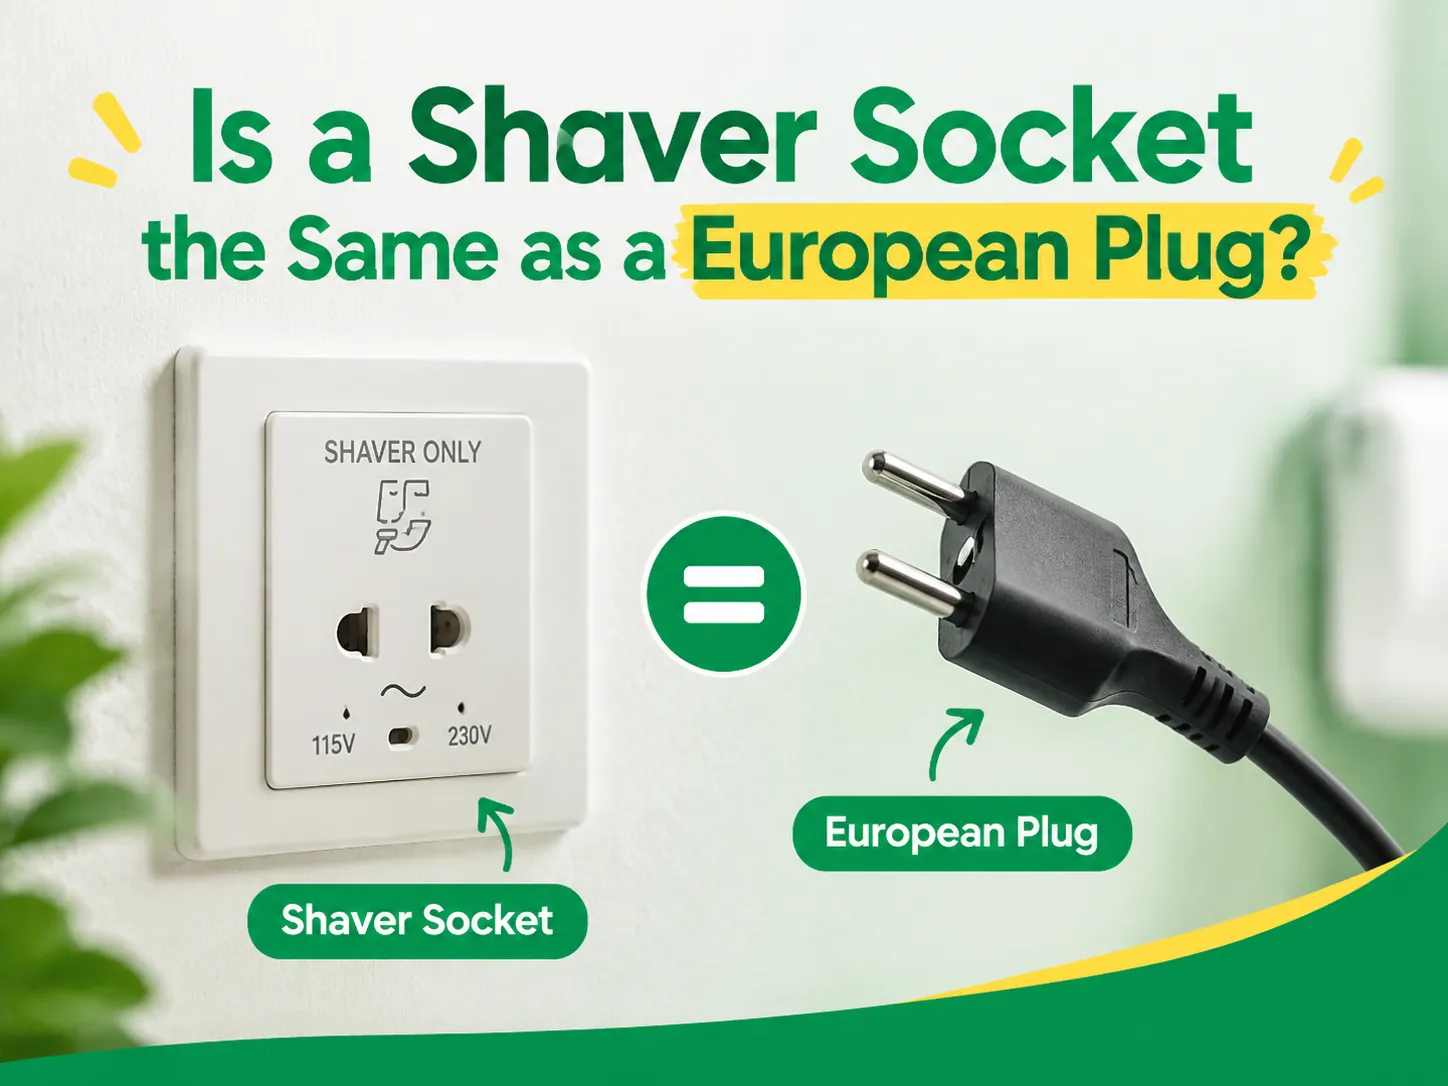
Although they seem to be alike, they both have a round shape with two pins, and they function at a voltage of 230V. This explains why some tourists use a European plug with a British shaver or wonder why a shaver cannot be plugged into a Schuko socket in a Spanish hotel. In reality, they […]

 No.6 Tuozhan Road, Leshang Pioneer Park,Yueqingwan Bay Harbor,Yueqing city,Zhejiang Province


